
Fast External Audience Activation with Custom Upload
Introduction
In fast-paced marketing environments, timing can make or break a campaign. Whether we are reacting to a sudden flight cancellation, a trending topic, or a flash sale opportunity, the ability to quickly reach the right audience is crucial.
The Custom Upload feature in Adobe Experience Platform (AEP) empowers marketers to quickly import and activate an externally generated audience via a simple CSV file — enabling campaign activation within an hour.

Use-Case: Fast Recovery Campaigns
Let’s say an airline operations team flags 3,000 customers whose flights were just canceled due to unexpected weather. We want to send them a personalised apology email, offer hotel vouchers, and redirect them to rebooking assistance — all within the next hour.
With the new Custom Upload (Import audience) feature, the marketer can:
- Export the affected profiles to a CSV file (with customer IDs, flight numbers, cancellation timestamps, and more).
- Upload the CSV file in AEP as an external audience.
- Launch a fast recovery campaign (within an hour) targeting these profiles with context-aware messaging.
This kind of agile, responsive marketing is just a few clicks away with the Custom Upload feature. This feature lets the marketers import audiences they have already built — outside the system — and activate them quickly within an hour. No need to replicate segmentation logic, migrate base data, or wait for daily evaluations.
Just bring a CSV file, map the identity fields, and the audience is ready for action almost immediately. It’s fast. It’s flexible. It’s powerful.
Why This Works: Decoupling Segmentation from Activation
Marketing teams often have valuable audiences defined in CRM tools, analytics platforms, or predictive models. Rebuilding those segments inside the marketing platform is time-consuming and sometimes redundant. Now, with standardized audience ingestion, we don’t have to.
By decoupling segmentation from audience activation, the marketer can:
- Avoid duplicating data logic across tools.
- Leverage external machine learning models or event-based triggers.
- Reduce dependency on daily audience evaluation cycles.
All we need is the resulting audience list in CSV format, and we are good to go.
How to Use the Custom Upload Feature: A Step-by-Step Guide
Step 1: Prepare a CSV file containing the audience list.
Make sure the file contains a column with the identity value (e.g., email, CRM ID). Extra columns can include contextual information useful for personalization like promo codes, booking references, or weather data. This information is not saved permanently to profiles.
Step 2: Go to “Import audience”.
Navigate to the Audiences section and click “Import audience”.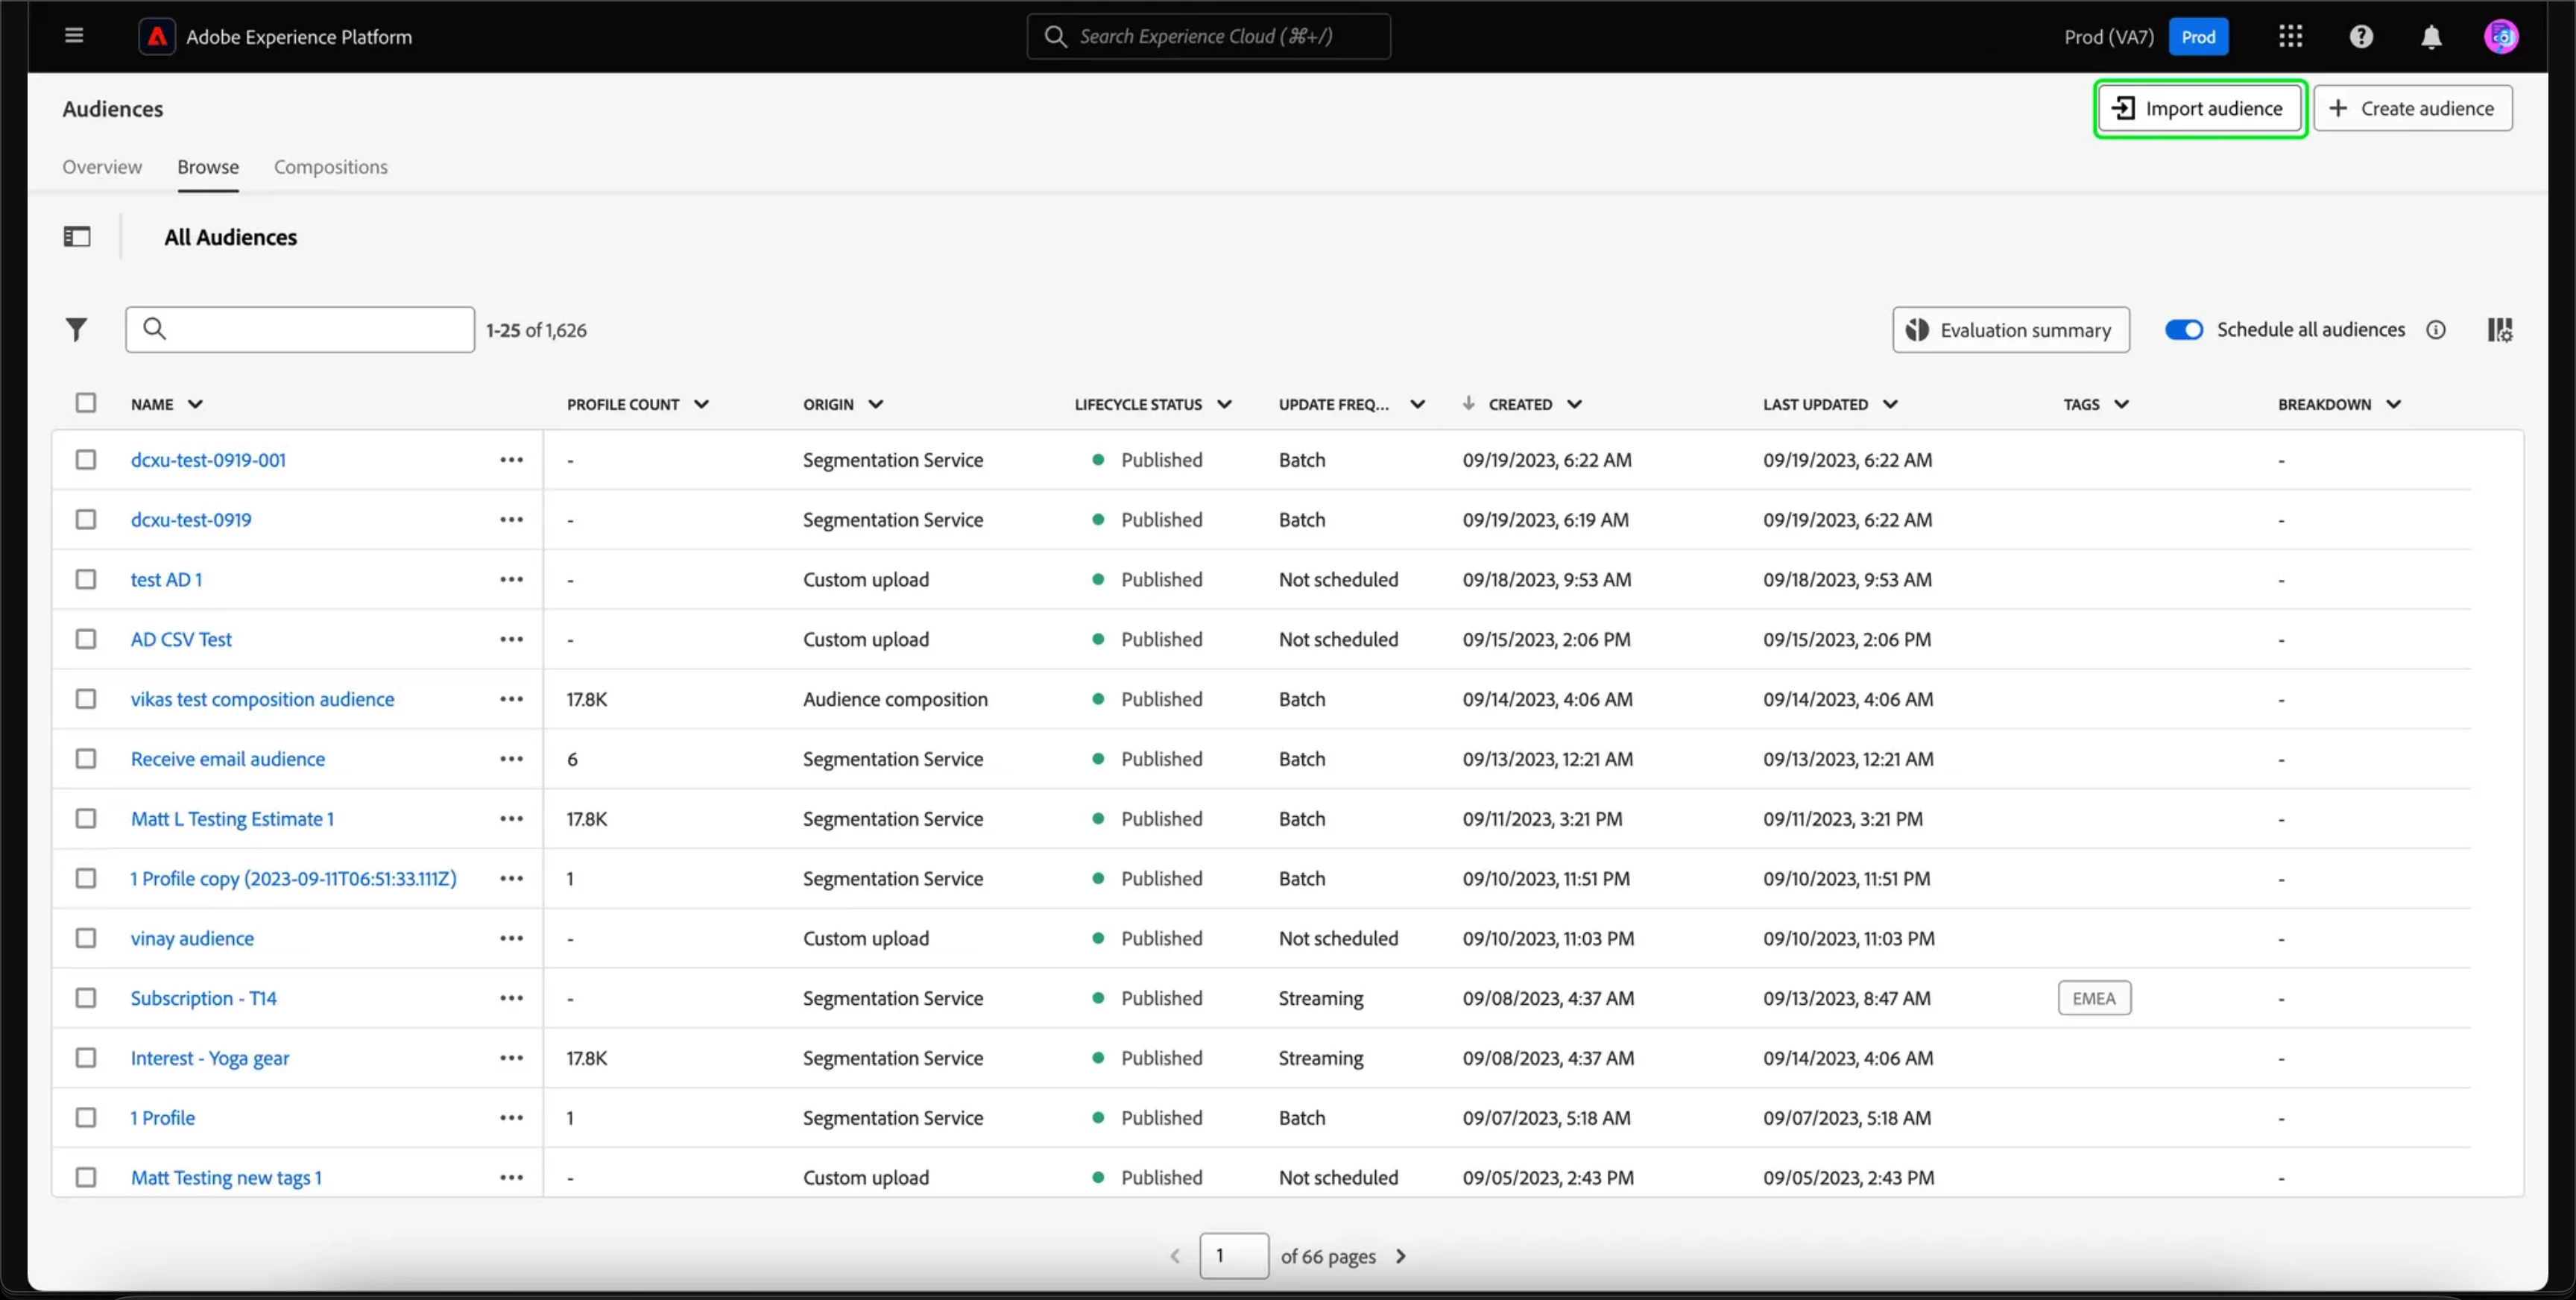
Step 3: Upload the audience CSV file.
The Import audience CSV workflow appears. Select the CSV file to import as an externally generated audience.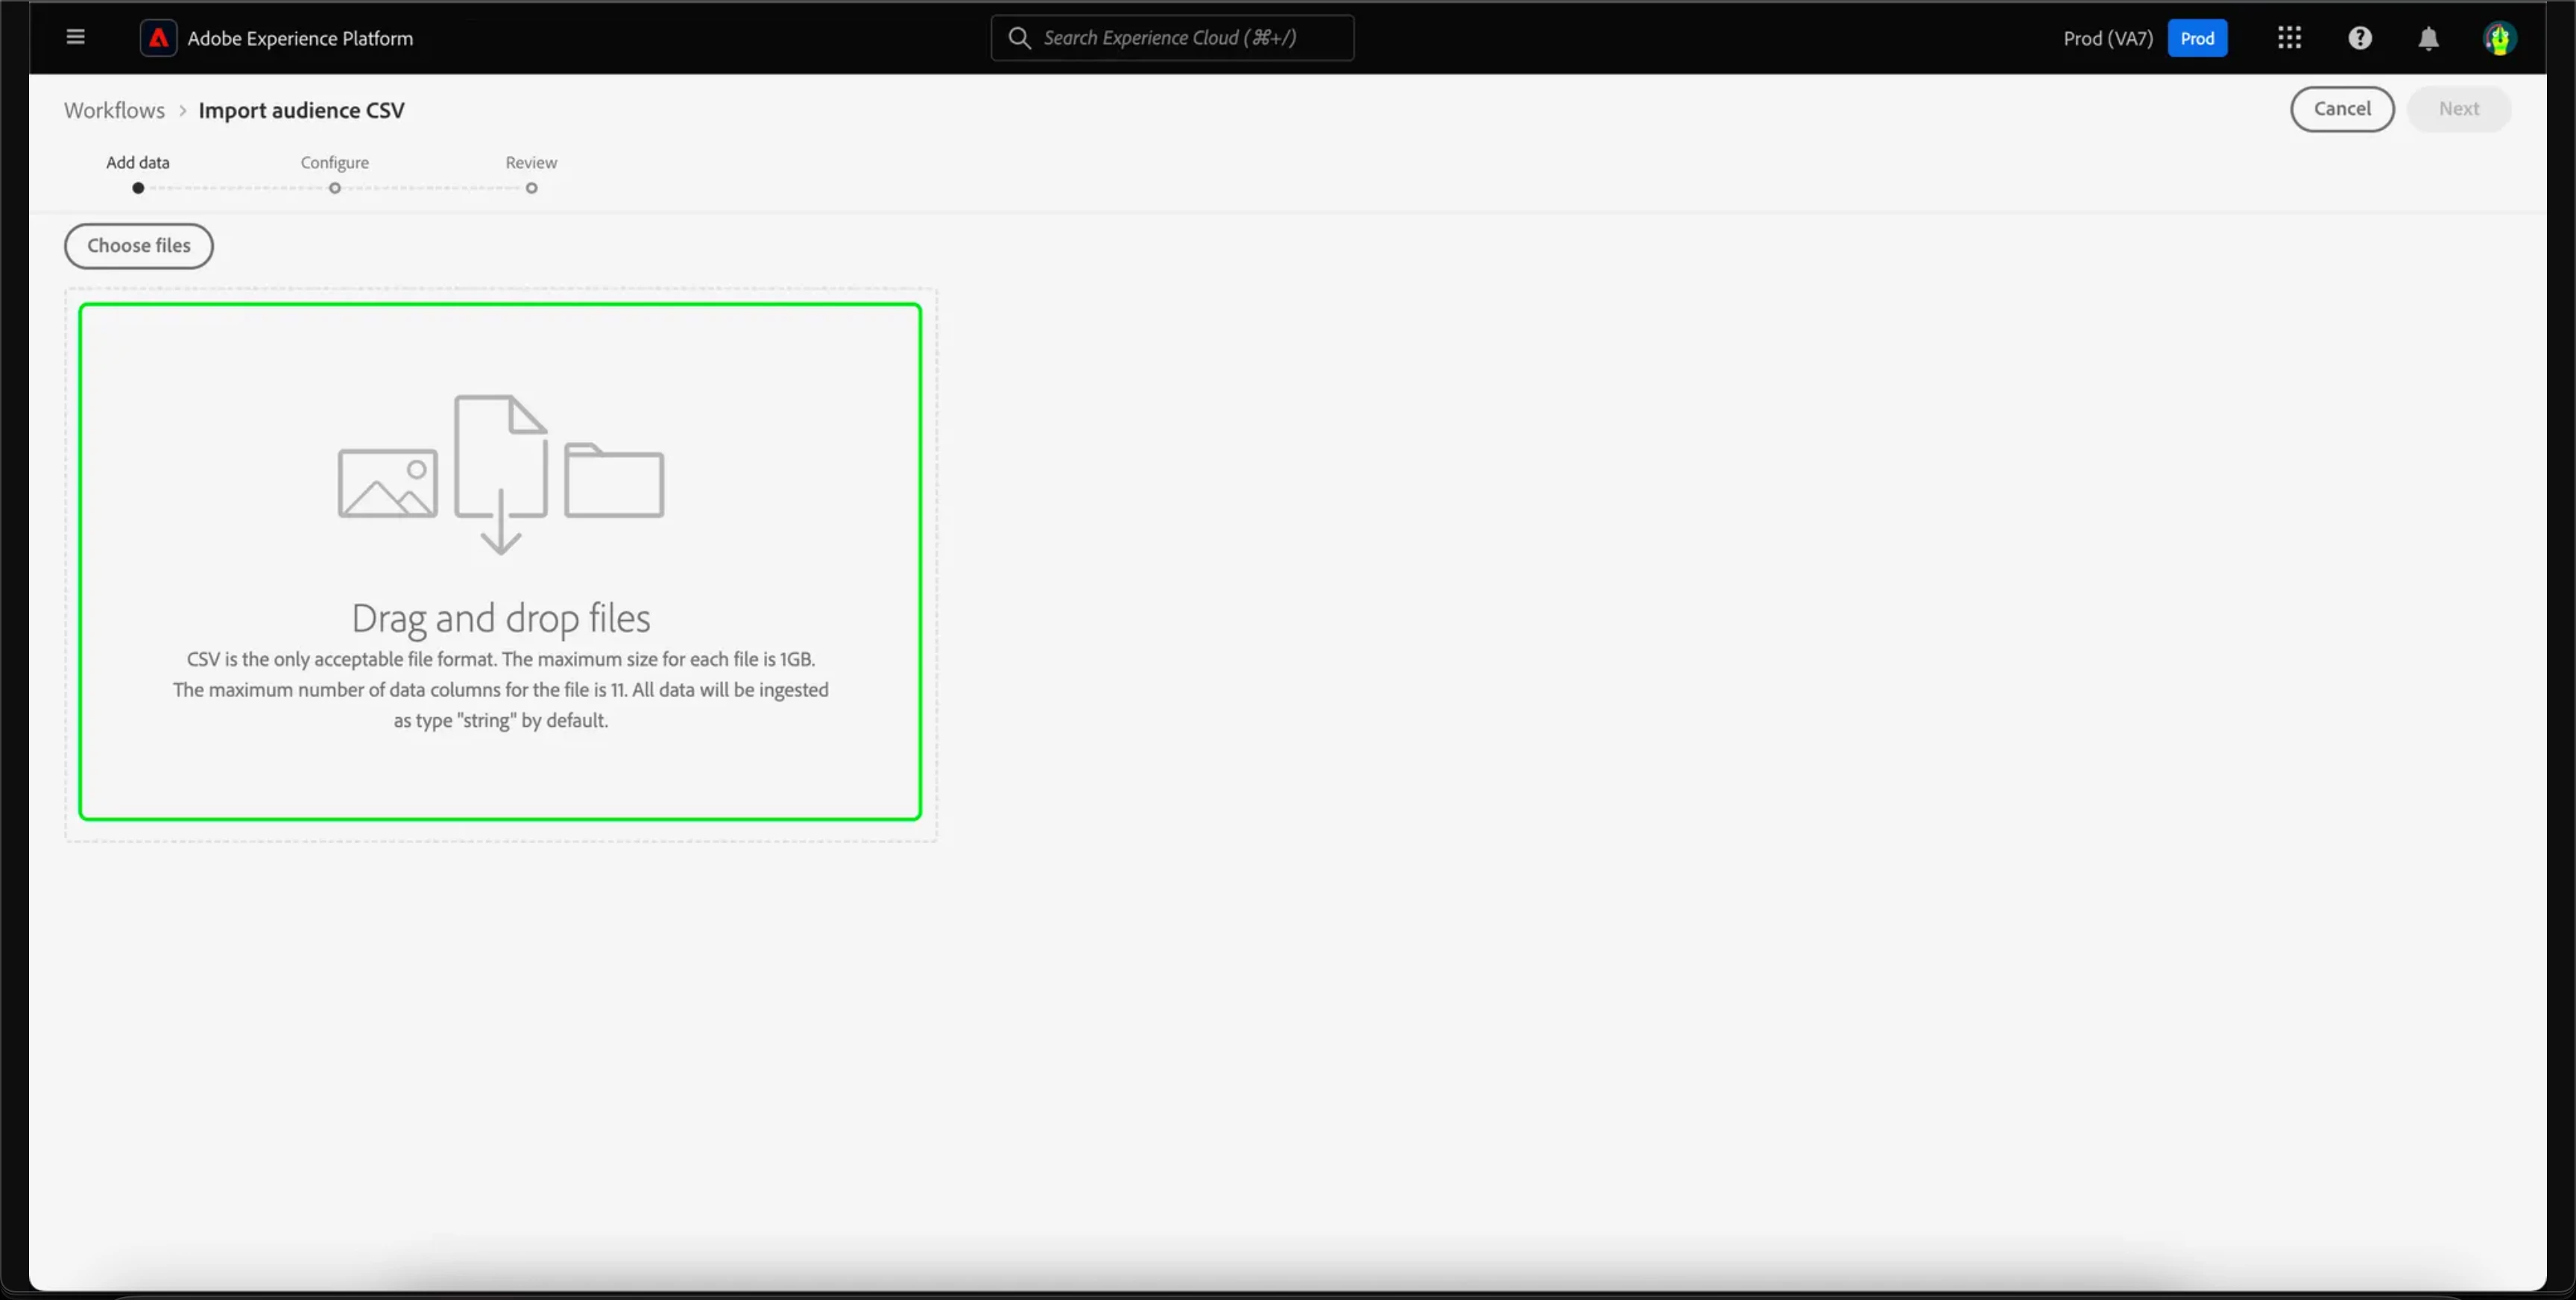
Step 4: Preview sample audience data.
Now, a list of sample data is shown for this externally generated audience. Confirm that the sample data is correct and select Next. 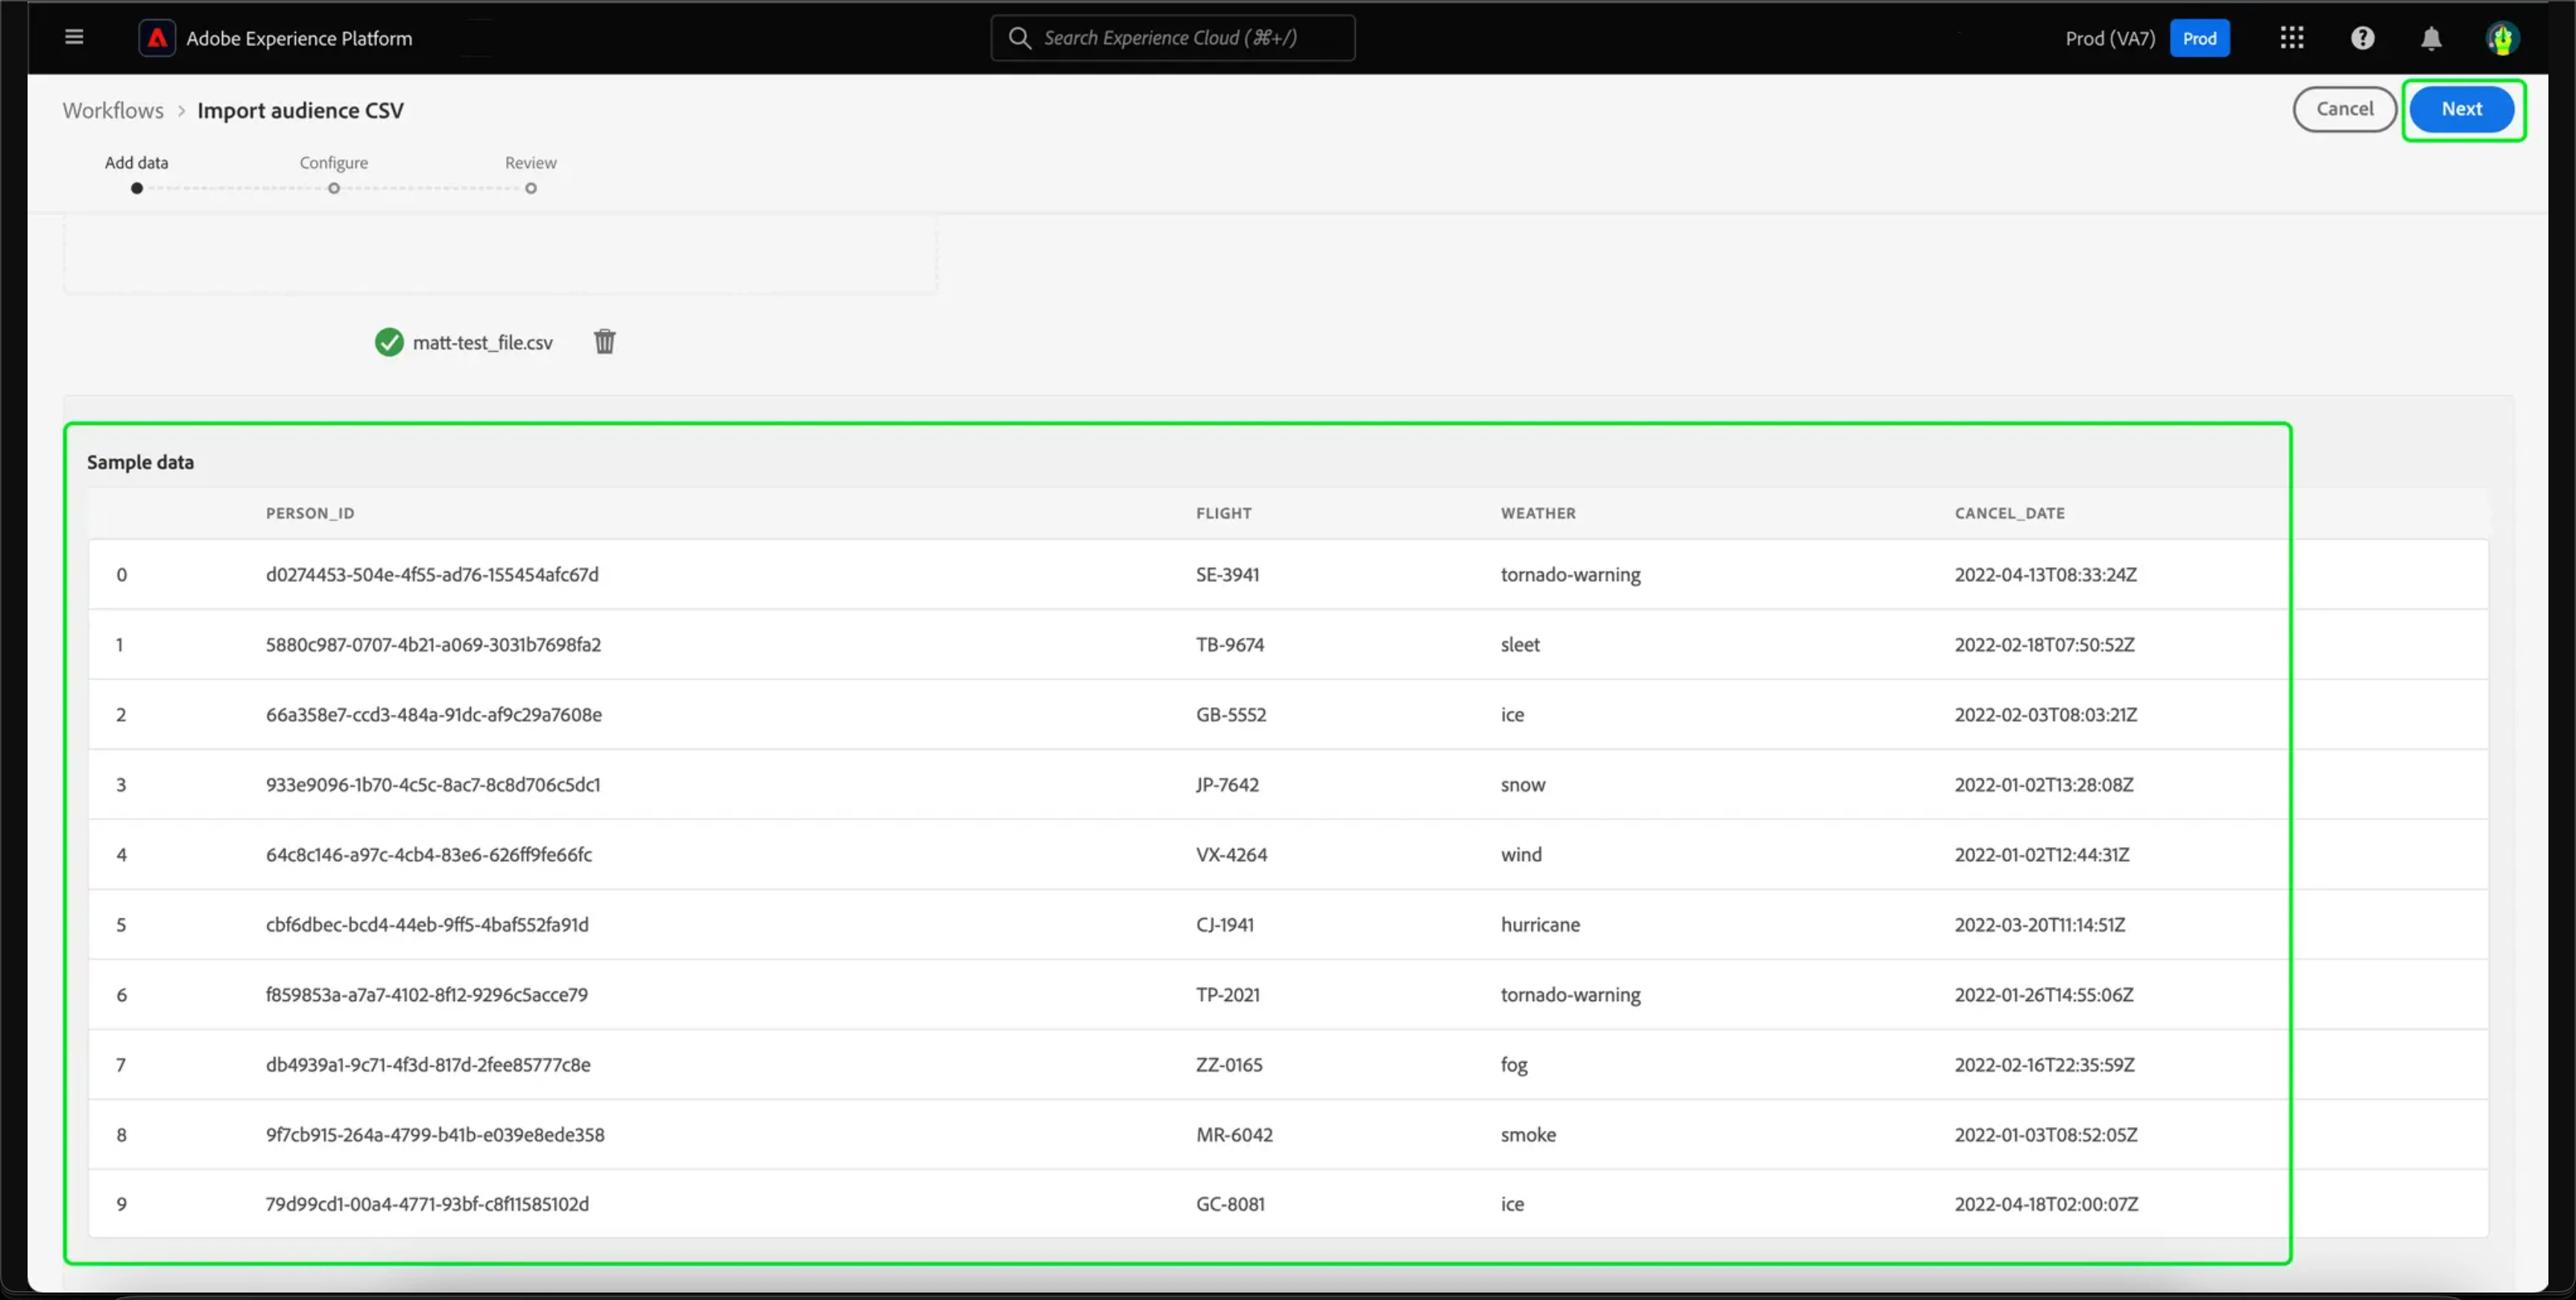
Step 5: Fill in Audience details and Identity selection.
The Audience details page appears. Add information about the audience, including its name and description.
It is mandatory to select:
- The primary identity column in the CSV file (e.g. email)
- The corresponding identity namespace (e.g. Email ID)
Please note that all the remaining columns in the CSV file will be considered payload attributes. These attributes are considered non-durable, as they will only be associated with this audience for purposes of personalization and are not connected to the profile.
Click Next after filling in all the details.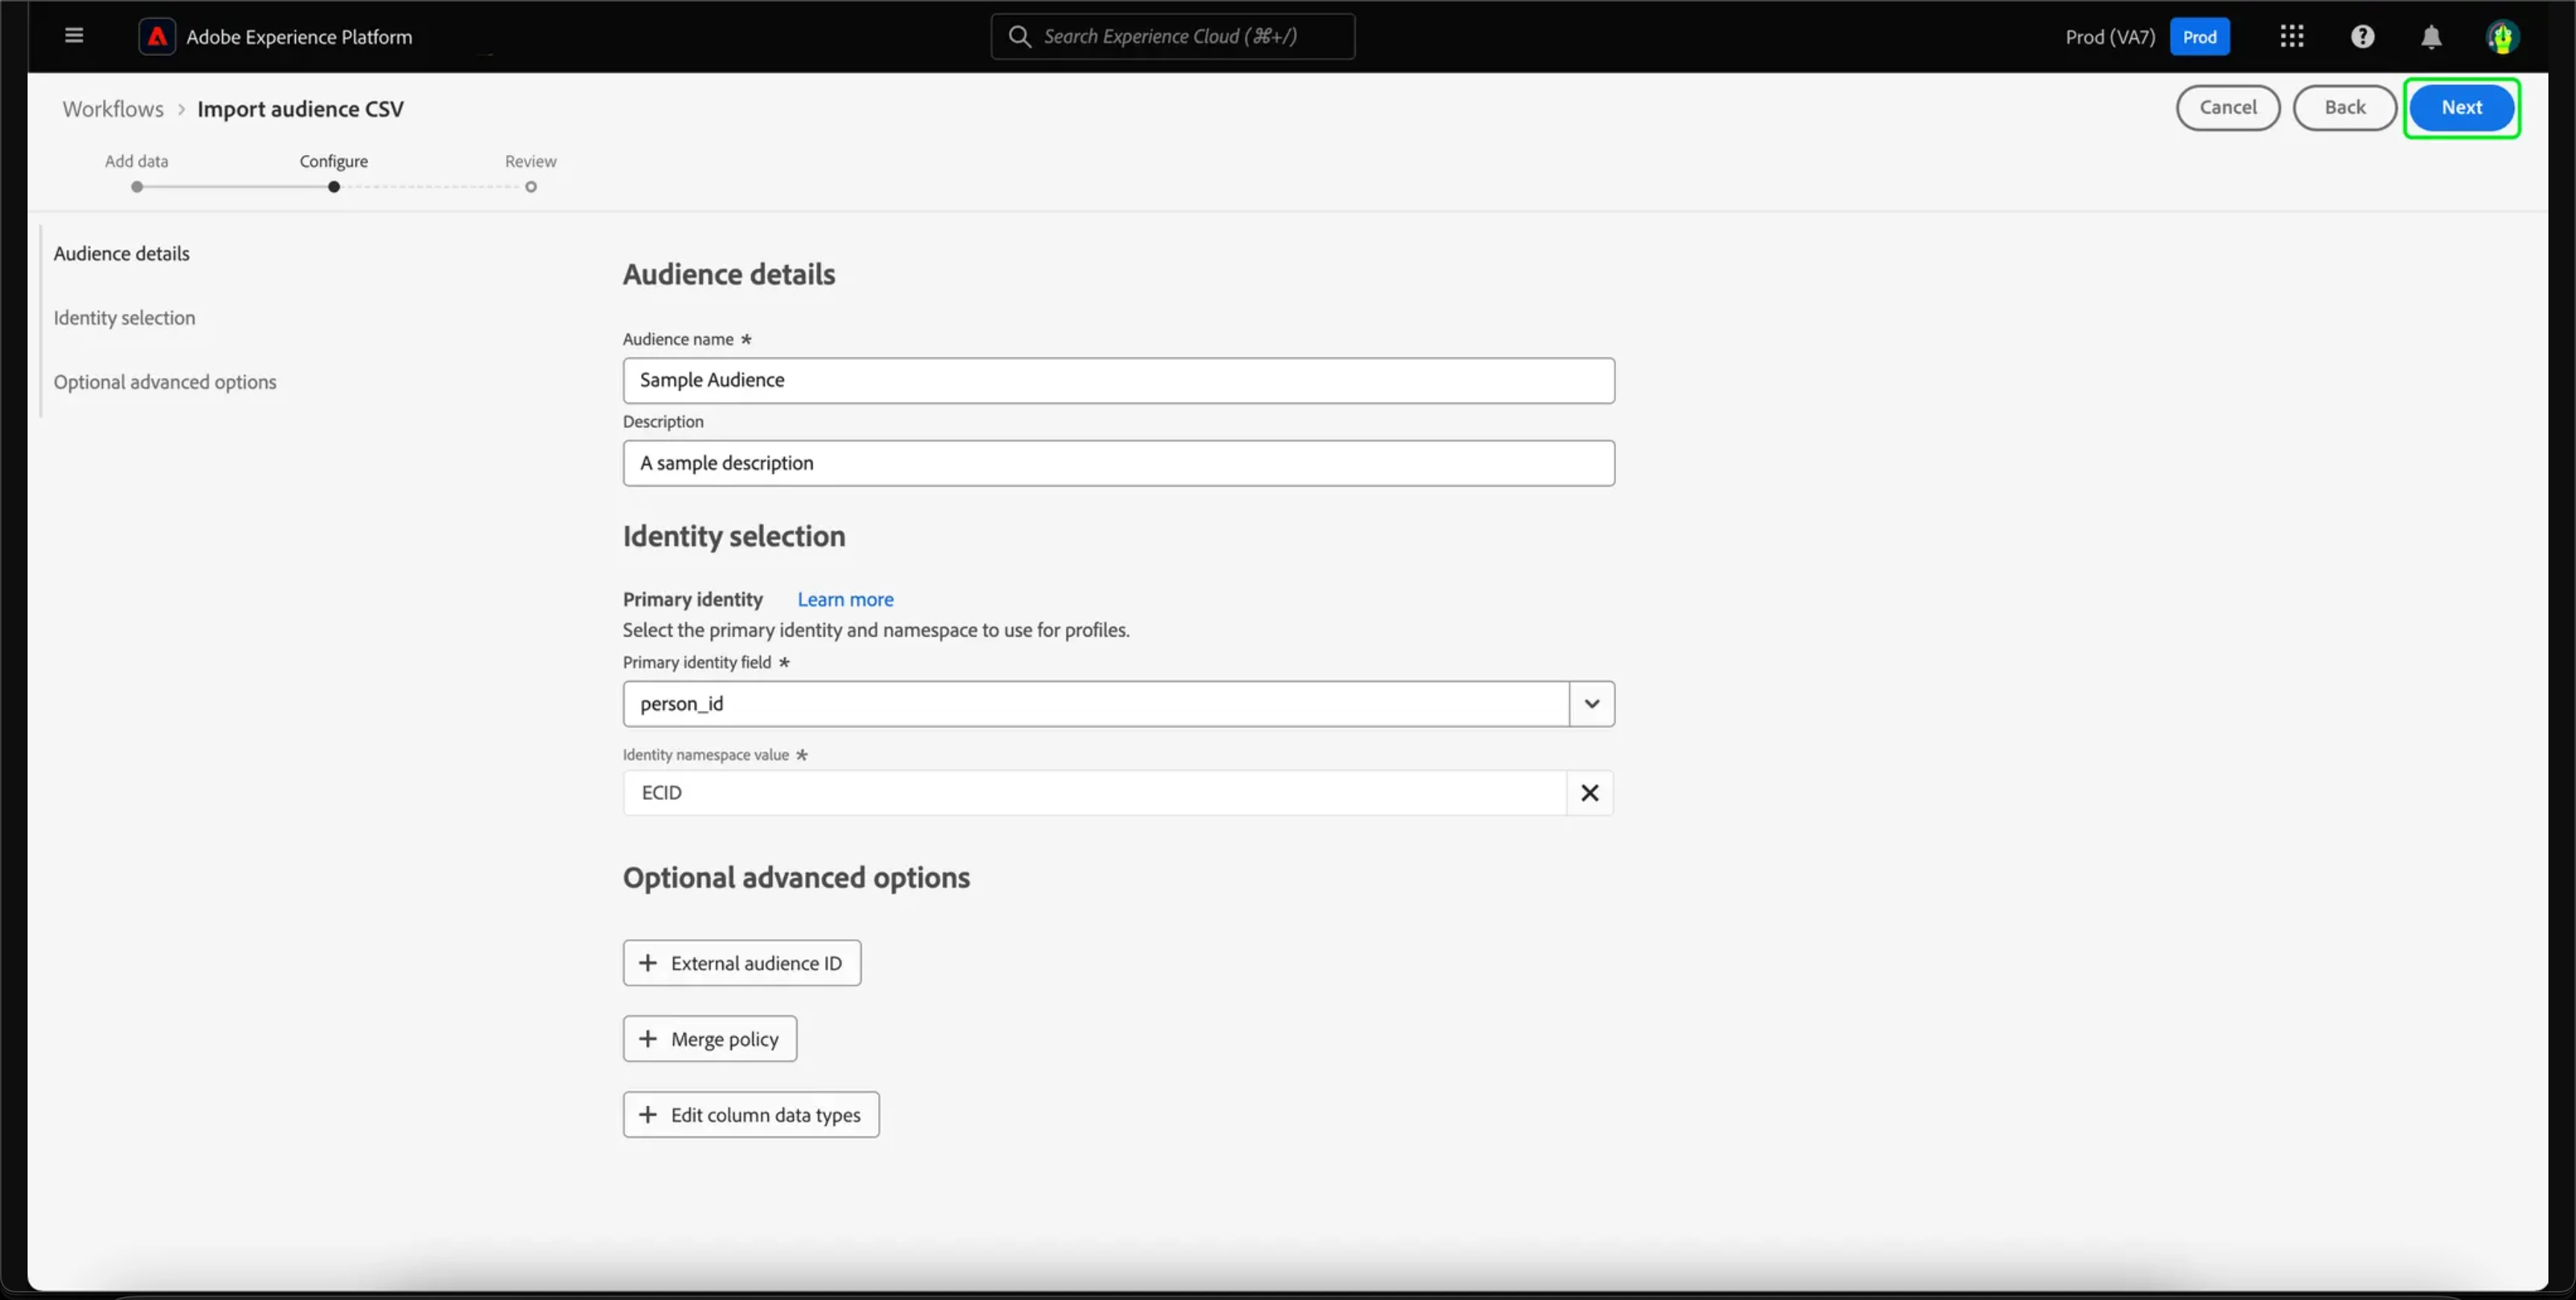
Step 6: Review and Finish
Review the metadata of the newly imported audience, confirm everything looks right, and click Finish.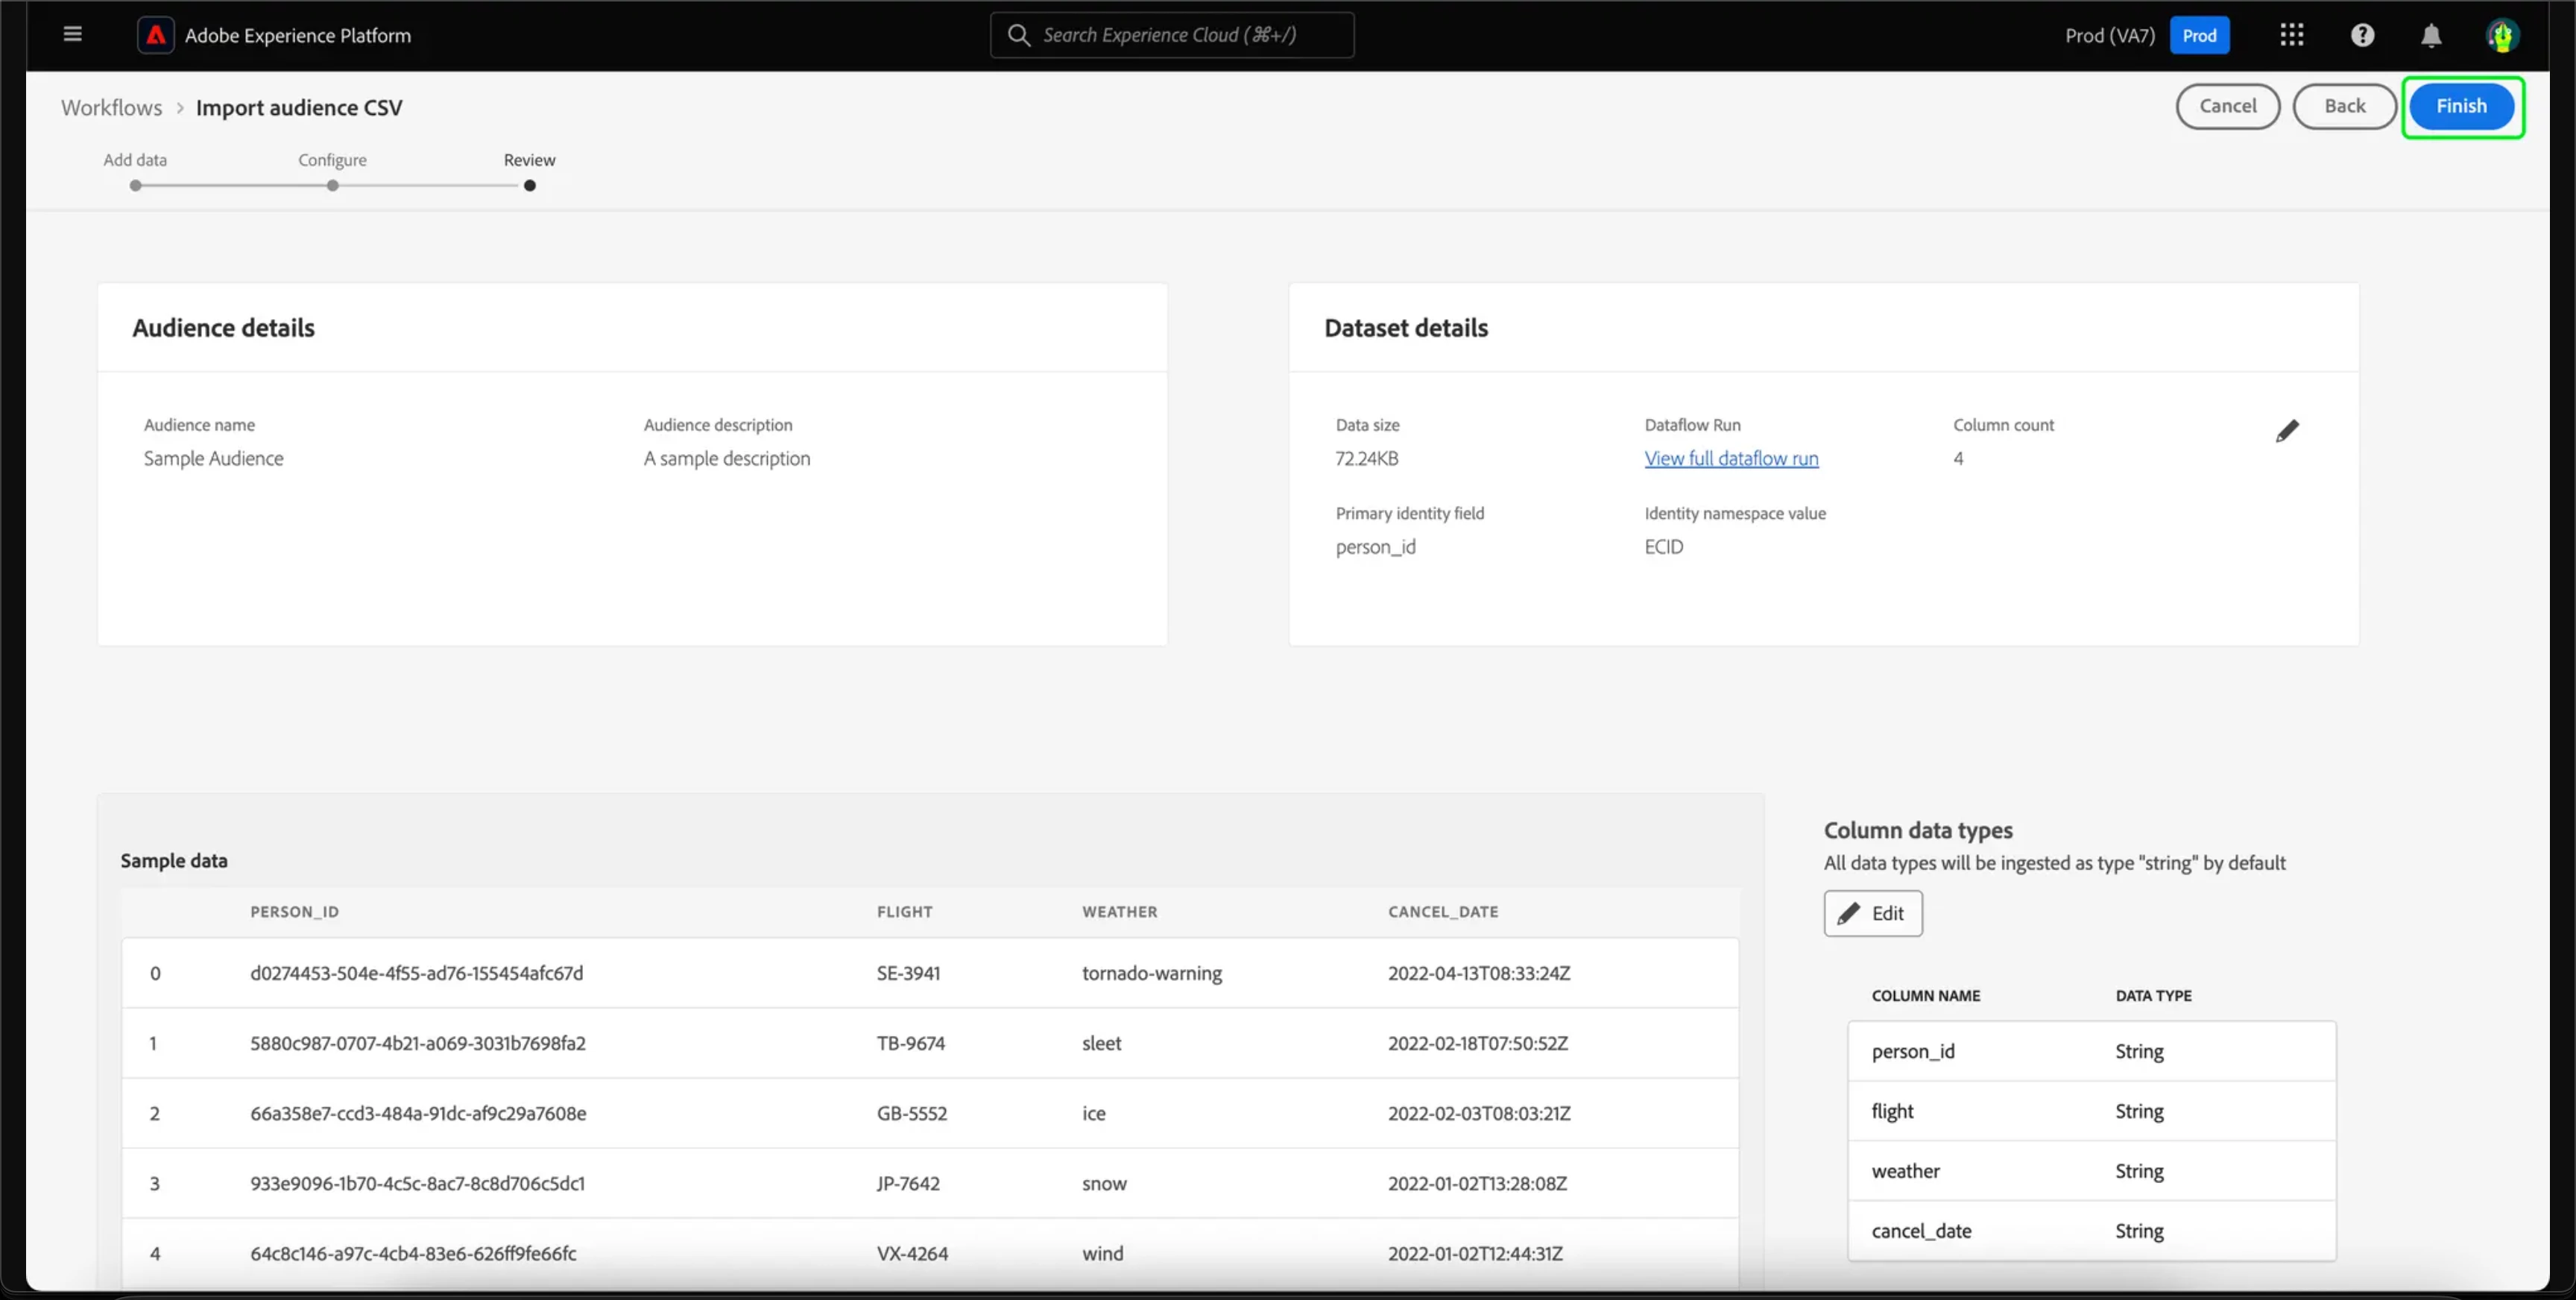
The audience metadata has been published. The ingestion of uploaded audience list has started and will be completed within an hour. We can start using this audience in our campaigns and journeys once this ingestion is complete.
Step 7: Verify Ingestion details
Click on the audience to get more information about how the ingestion is going, the current status, and the dataset and batches associated with this audience.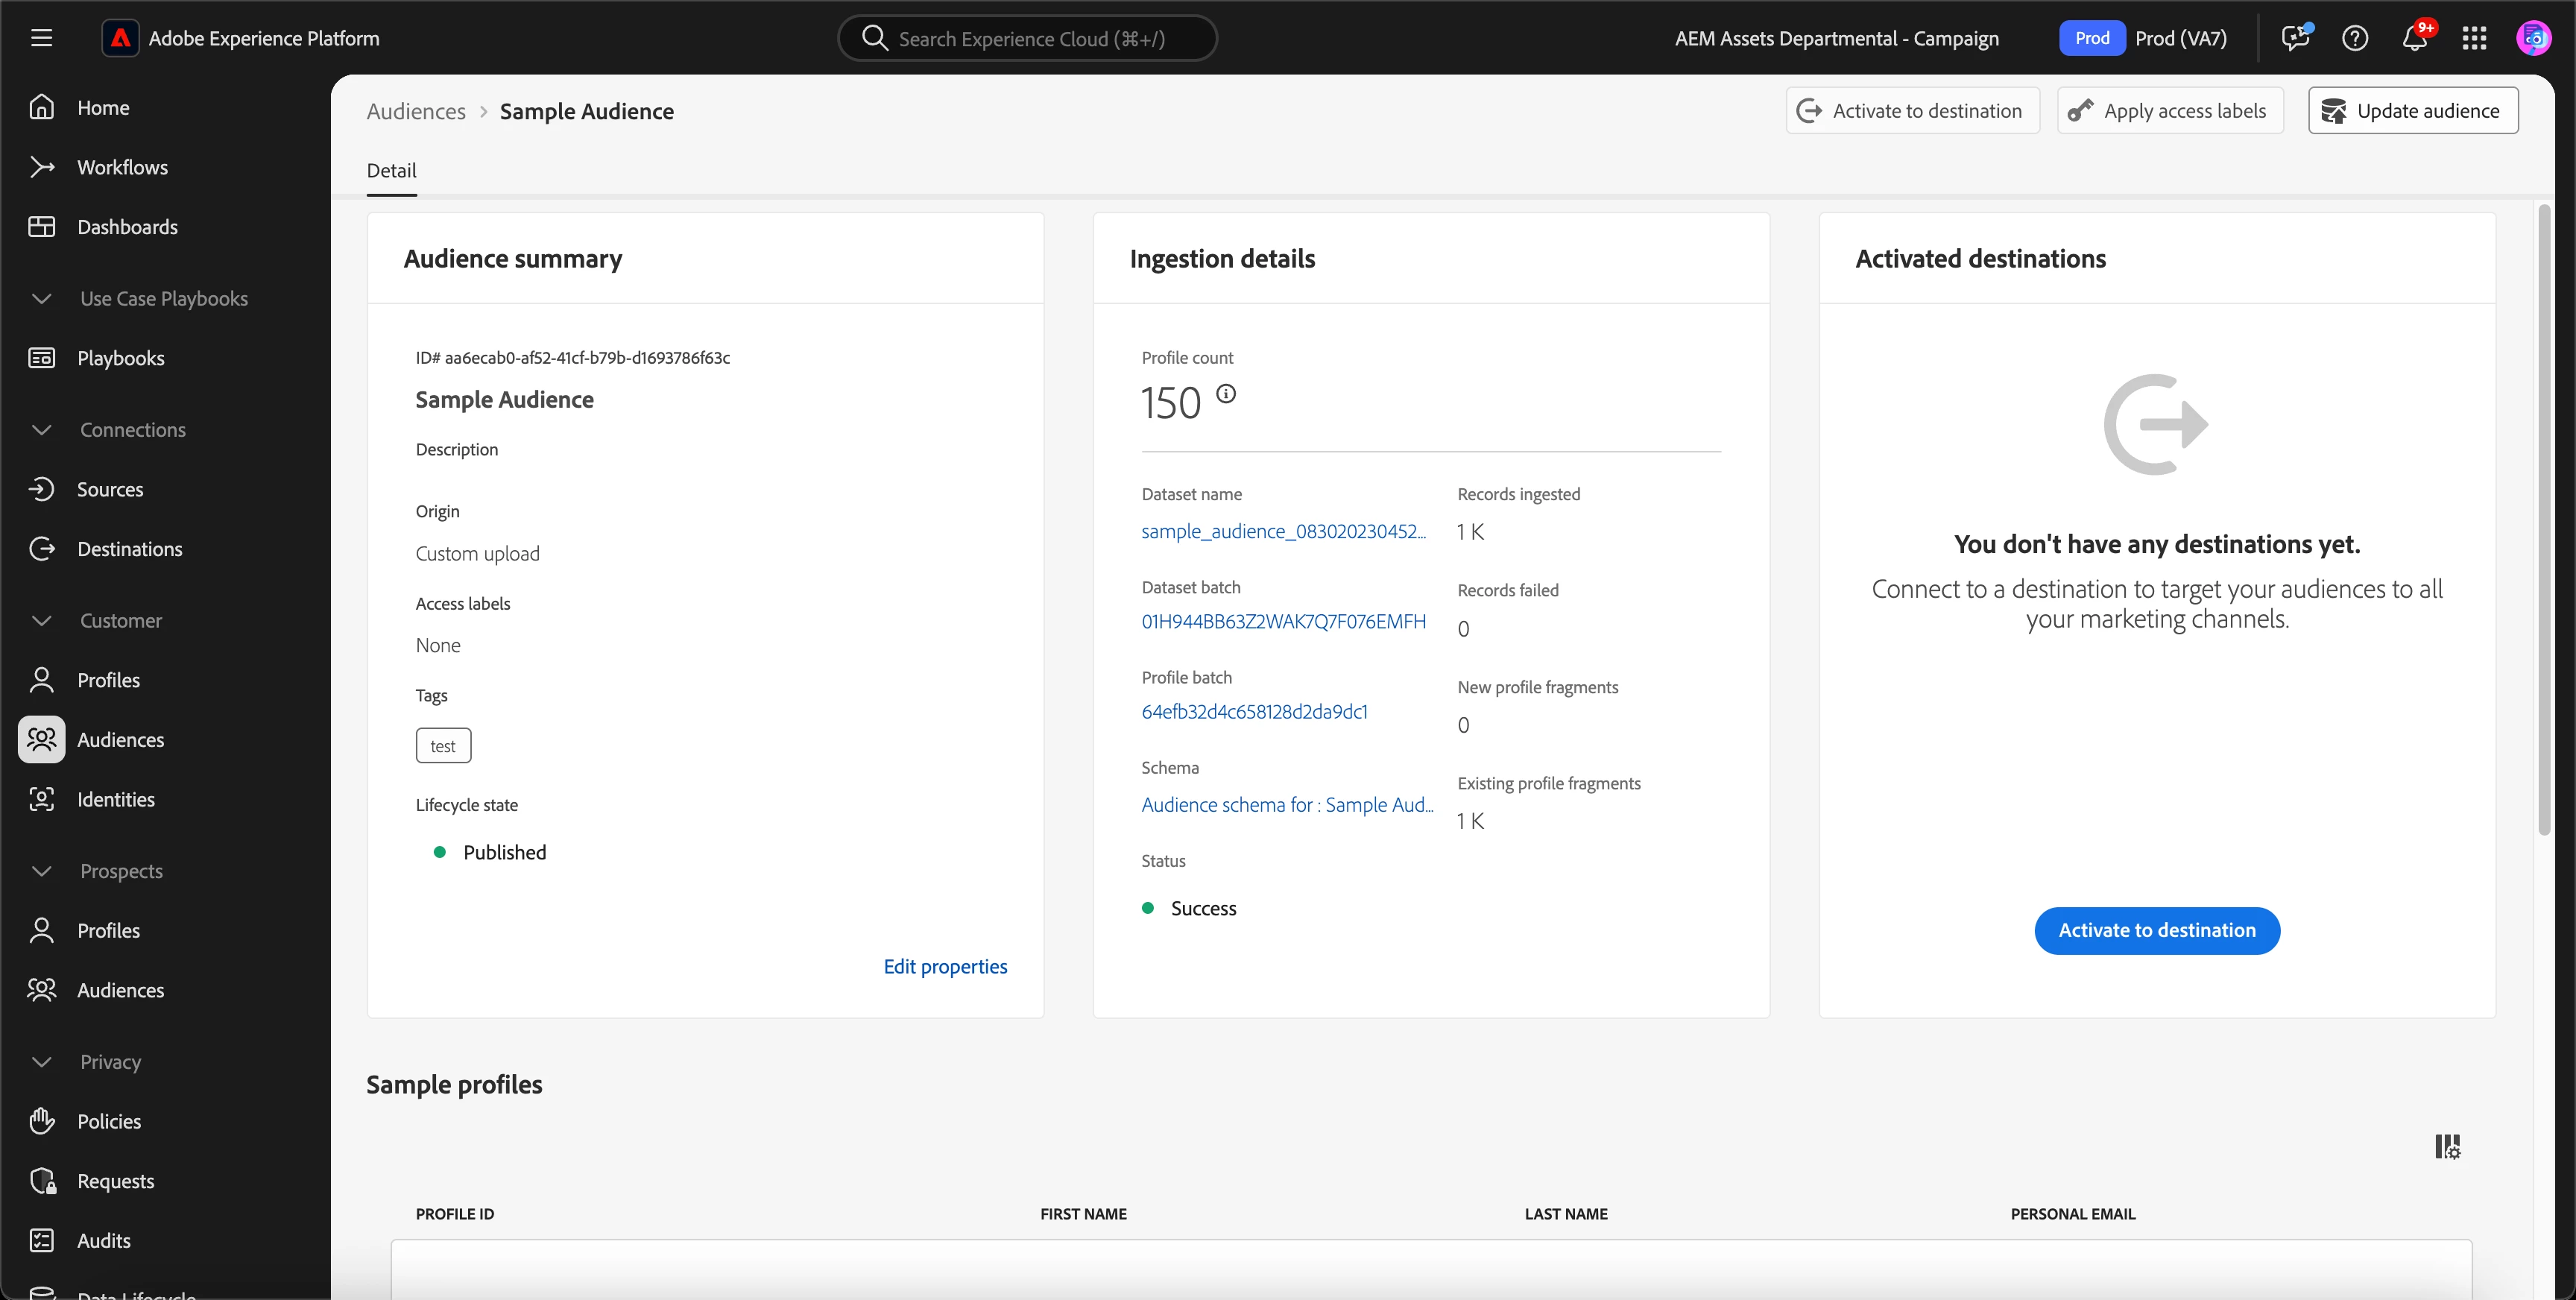
Summary
With the Custom Upload (Import audience) feature, we get:
- Speed: Go from audience definition to activation in under an hour.
- Freedom: Use audiences built outside the platform — no need to replicate data.
- Context: Bring in rich, time-sensitive data to power real-time personalization.
This feature unlocks new levels of marketing agility. Whether we are responding to a crisis, activating a data science model, or just accelerating our workflow — custom upload puts us back in control.
Reference Links
Explore more on Custom Upload (Import audience) feature in Adobe Experience Platform: