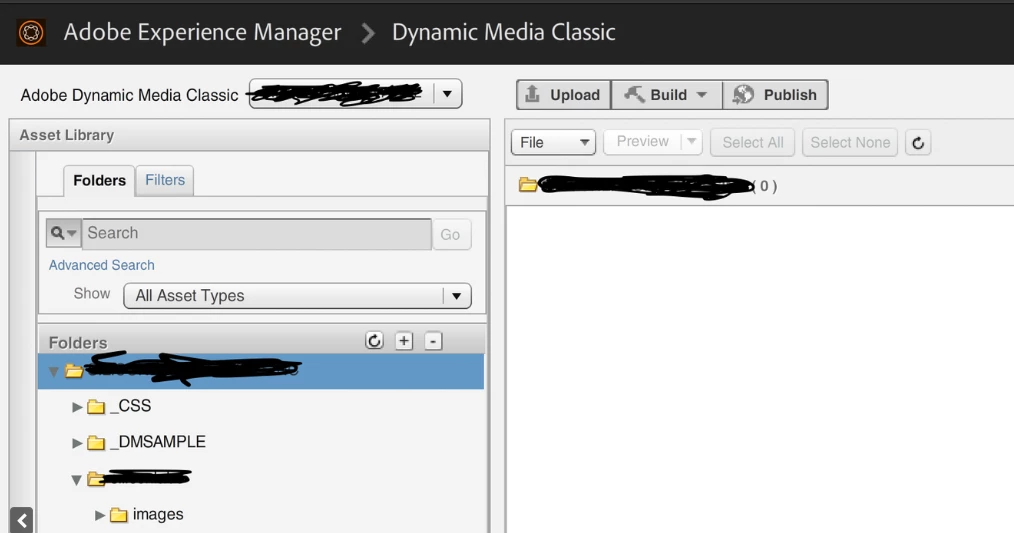
I am trying to add a promotion banner on the page in an A/B test using "Image Offer" option. I came across that we have to set up Scene7 integration first to utilize the Image Offer option. I did check this documentation to configure Dynamic Media Classic (formerly Scene7) with Adobe Target https://experienceleague.adobe.com/en/docs/target/using/administer/scene7-settings
we do have credentials for Scene7 however not sure what to pass in Adhoc Folder option in the settings. Any thoughts would be helpful.
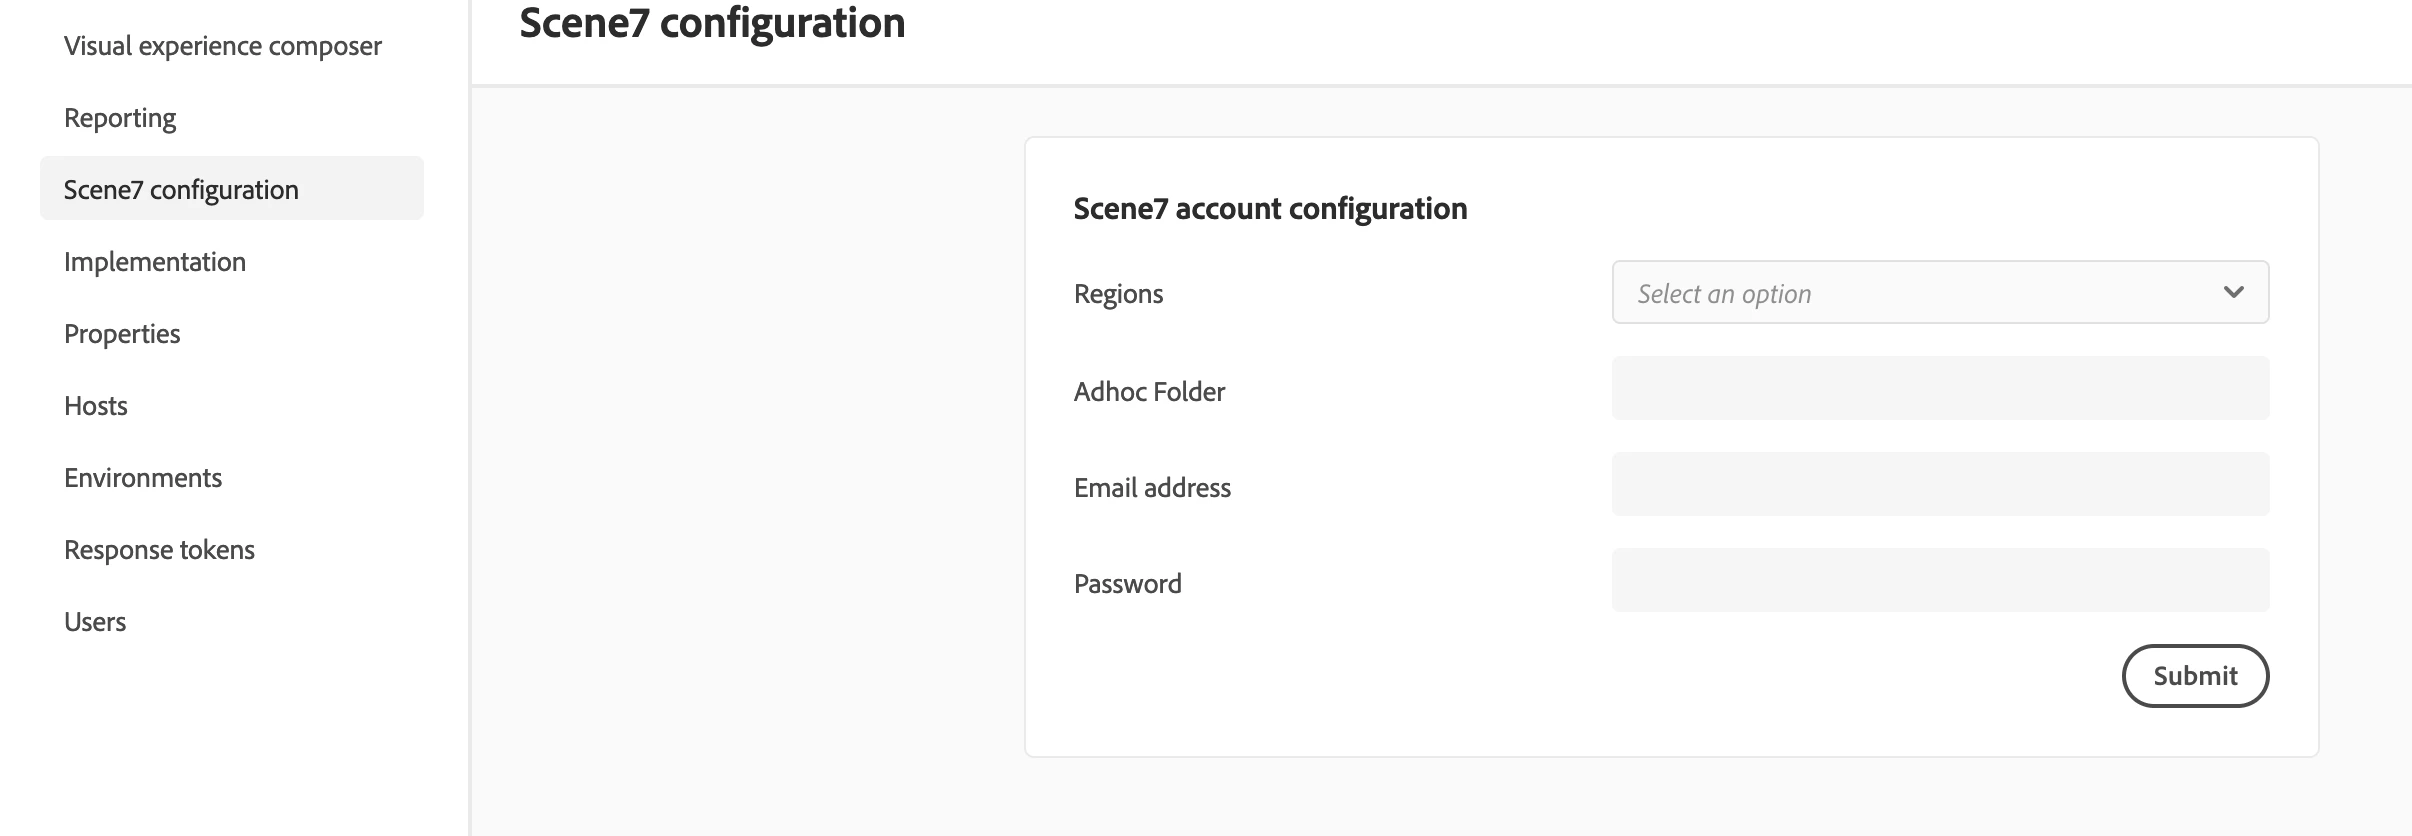
And, when I log in to Adobe Dynamic Media Classic desktop application, I see the below screen:
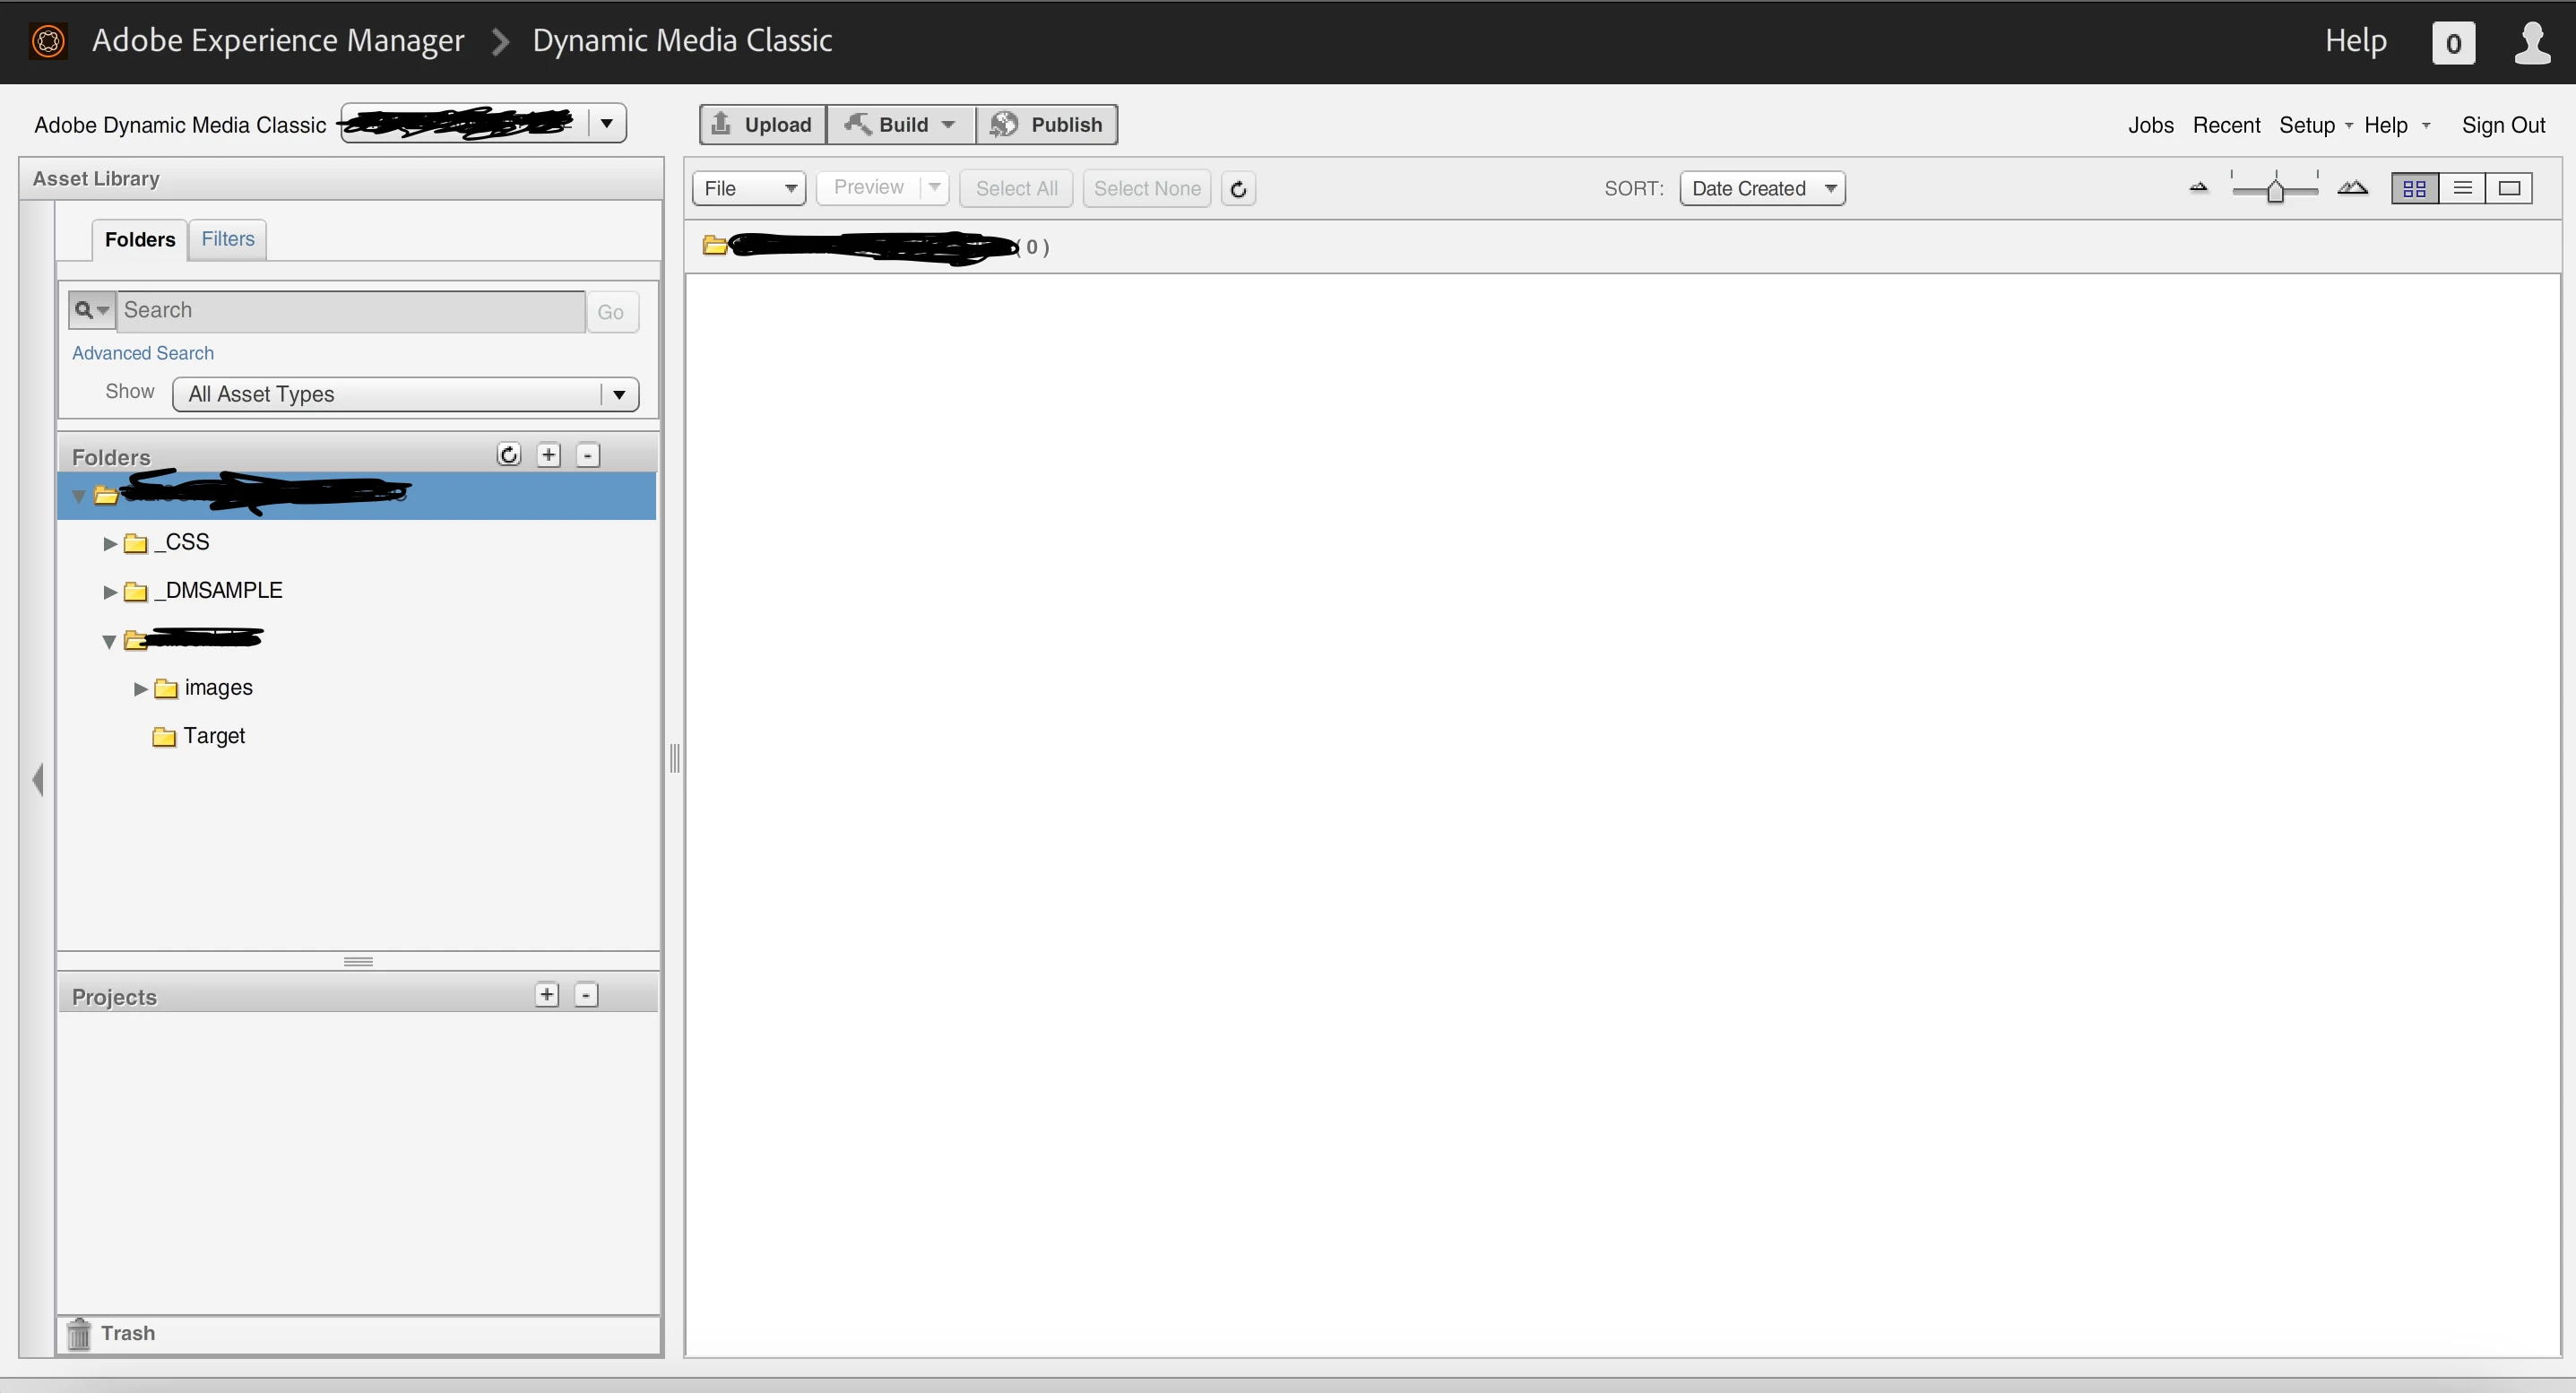
I randomly tried creating a folder here named "target" just to play around.
Thanks,
JS
Solved! Go to Solution.
Topics help categorize Community content and increase your ability to discover relevant content.
So, the integration is done and made successfully. For all those who want to perform this, here are some notes:
- Region is where you exist ( for me it's North America)
- Your login credentials should be as admin access
- Adhoc folder is the name of the main folder from your Dynamic Media Classic account (if you have a paid account). You can find it by clicking the dropdown menu from the top (from the below screenshot). Mostly the name at the top of the drop-down list should be the name of Adhoc folder (main folder, which is always by company name)
- Once you enter all those details you need to hit submit and it will show a pop up message that "Your details are saved successfully"
- Lastly, You need to go to the Dynamic Media Classic account to sync the two products. Click on "Set up" from the top right corner and then click "Application Set Up"
- You will see the screen below where you must pass the Test&Target Server Name to complete the sync. It should look like the following:
Example will be the company domain name of your account. You can also see it in the URL you use for your Target access)
Example.experiencecloud.adobe.com
Pls, confirm this with Client Care also before passing it to be more sure.
Then, hit the Save button and you are done with syncing two products. Hope this helps
Views
Replies
Total Likes
I did this configuration last week and same question for me. So have created separate folder and from there have uploaded the media and can able to use image offer / swap functionality
So did that work for you? And, the Adhoc folder you have to pass in configuration is something you created in Scene7 and then passed it as for example like I created as "/Target" ?
And, You have to upload images in Dynamic Media folder itself and then only you can use it as image offer?
Yes it works for me however you have to upload the images manually in Adobe Target offer section.
Basically, the integration between Target and Dynamic Media is to enable the image-swap functionality as described in the documentation. It doesn’t allow unfortunately to browse images stored in Dynamic Media from within the Target interface.
So this is not an ideal solution as it's more overhead to upload all the images (with different dimensions) in Adobe Target.
The ideal solution would be then - the assets delivered in DAM - can normally be used with URL in Adobe Target. As all assets published has a URL and that can easily be used in Adobe Target also the DAM system shows numerous renditions when you select Renditions in an asset’s Detail view.
Apply Dynamic Media Image Presets | Adobe Experience Manager
So, the integration is done and made successfully. For all those who want to perform this, here are some notes:
- Region is where you exist ( for me it's North America)
- Your login credentials should be as admin access
- Adhoc folder is the name of the main folder from your Dynamic Media Classic account (if you have a paid account). You can find it by clicking the dropdown menu from the top (from the below screenshot). Mostly the name at the top of the drop-down list should be the name of Adhoc folder (main folder, which is always by company name)
- Once you enter all those details you need to hit submit and it will show a pop up message that "Your details are saved successfully"
- Lastly, You need to go to the Dynamic Media Classic account to sync the two products. Click on "Set up" from the top right corner and then click "Application Set Up"
- You will see the screen below where you must pass the Test&Target Server Name to complete the sync. It should look like the following:
Example will be the company domain name of your account. You can also see it in the URL you use for your Target access)
Example.experiencecloud.adobe.com
Pls, confirm this with Client Care also before passing it to be more sure.
Then, hit the Save button and you are done with syncing two products. Hope this helps
Views
Replies
Total Likes