Struggling with QA links? Here's your work-around!
Recently, several questions have been raised on the forum about the QA URLs not working or not showing the expected experience. To address this, this article will describe a workaround for an alternative QA method to the QA URLs.
If you're familiar with QA URLs, skip this first part and skip to the alternative method.
What are QA URLs?
QA URLs are special links that help you test things before they go live. They let you see how the changes you've applied work without changing anything important, so you can ensure everything is ready before pushing your activity live.
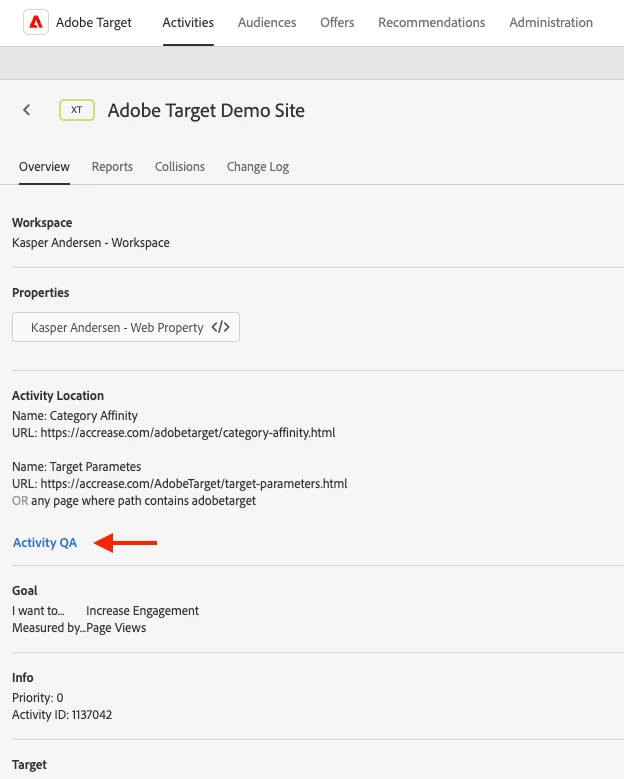
You can find the links on the Activity's Overview page:

With QA URLs, you can share what you're working on with your team using links that never change. The link stays the same even if you make changes, so it's easy to test. You can also decide whether to test for specific people or everyone. This helps make sure everything looks right before you publish your activity.
One of the best things about QA URLs is that you can test the whole website journey. You use one link and can go to many pages to see how it works together. Once you're in QA mode, you stay in it until you decide to stop.
Why QA URLs might not work as expected
Sometimes, QA URLs may not work as expected. This could be due to several factors that interfere with their proper function. Understanding these reasons can help you quickly identify and resolve any issues.
- The activity is expired or archived.
- There are too many saved activities in your account.
- The URL settings are too specific (like using "URL is" conditions).
- New audiences have been added, requiring a new link to be generated.
An alternative approach to QA URLs
I prefer this approach because it allows me to debug directly in the production environment, giving me insight into any potential impact on other live tests or activities. Additionally, it offers me full control over the testing process, ensuring I can fine-tune the experience without relying on potentially unstable QA links.
How to set it up? Let's take it step by step:
1. Create a new audience and name it, QA audience - example:
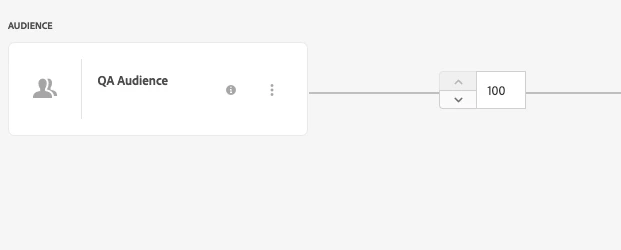
2. Apply the new Audience to your activity:

3. Control the traffic to force yourself into the specific experience. Once the experience is validated, you move all traffic to the next experience:

4. Publish your activity. Don't worry, only visitors who qualify for your QA Audience will see it and you have full control over who qualifies.
5. In order to validate you...probably guessed it...navigate to the page in question and simply add ?qa=true to your url.
Note: If the experience spans over multiple pages it requires that you append the qa=true every time you change url.
Conclusion
Debugging with QA URLs can be very useful, but it isn't always reliable due to various limitations. Using an alternative approach, like creating a dedicated QA audience and testing directly in the production environment, can provide a more robust and flexible way to ensure everything works smoothly. This method allows you to have better control over the testing process and helps in identifying any issues that may affect live activities. Remember, having the right testing approach is key to delivering a seamless user experience once your changes are live.

