Checkbox alignment in table cells | Community
Skip to main content
July 10, 2007

Checkbox alignment in table cells

  • July 10, 2007
  • 3 replies
  • 24092 views
Am using Designer 8.


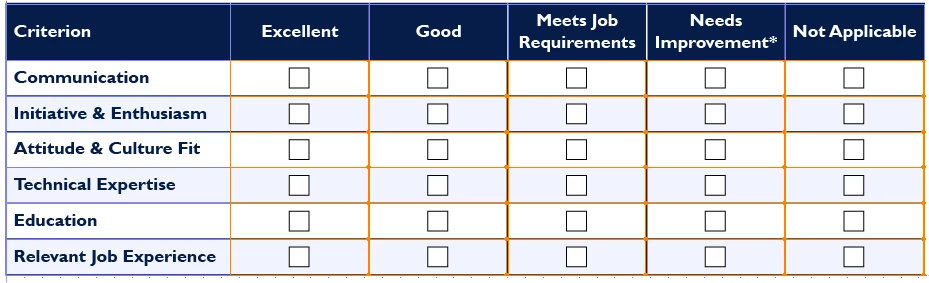
I have changed the type for the cells in one of my table columns to checkbox. I am displaying the checkboxes as sunken squares. How do I center the checkbox (sunken square) in the cell? The cell is wider and taller than the sunken square.


Thanks.
This post is no longer active and is closed to new replies. Need help? Start a new post to ask your question.

3 replies

August 7, 2007
Did you ever figure out how to do this?
March 11, 2008
I figured out the trick to centering the checkbox! Mystery solved.


1) Insert a numeric field onto your form.

2) Click the Center icon in the Paragraph tab or toolbar.

3) In the Object, Field, Type, change it to a checkbox.

4) In the Layout, caption, change layout to Top.


That's it, your checkbox is now centered!
March 1, 2013

I tried the above and ended up with cells that were at least 1/2in tall if I wished the check box to be vertically centered as well, so instead:

  1. Converted the table cells directly to check boxes
  2. Layout > Caption > Position > Right (I am guessing "Left" would work too)
  3. Deleted the Caption text (Object > Cell > Caption)
  4. Adjusted the Reserve value till the checkbox was centered (in my case 0.01in) (Object > Cell > Caption)
  5. Changed the cell height to a comfortable 0.25in (Layout > Size and Position)

Pic below

October 4, 2015

Hi, I have had no response from Livecycle forum. If I want 3 checkboxes side by side, do they have to be in a table? Cant seem to do it otherwise?

December 4, 2019

I have done this.

After adding the check boxes to the table using the Object Library, select the cells with the check boxes.

Under the Layout tab, set Caption to None.

Then, adjust the Right margin so that your check boxes are centered.

For my 1/2 inch column, a .2 inch right margin looked nice.