Hello
Find the explanation below.
How to set up your bridge step-by-step tutorial
Before you start
- Head over to the left sidebar and click on Bridges
- You'll be taken to the Bridges section of your account
- Click on the Add New button
- You'll be taken to the first step of the bridge creation
Step 1: Bridge's Main information
- Choose a name for your bridge (this will only be visible inside LeadsBridge)
- You may add labels to help you identify your bridge later
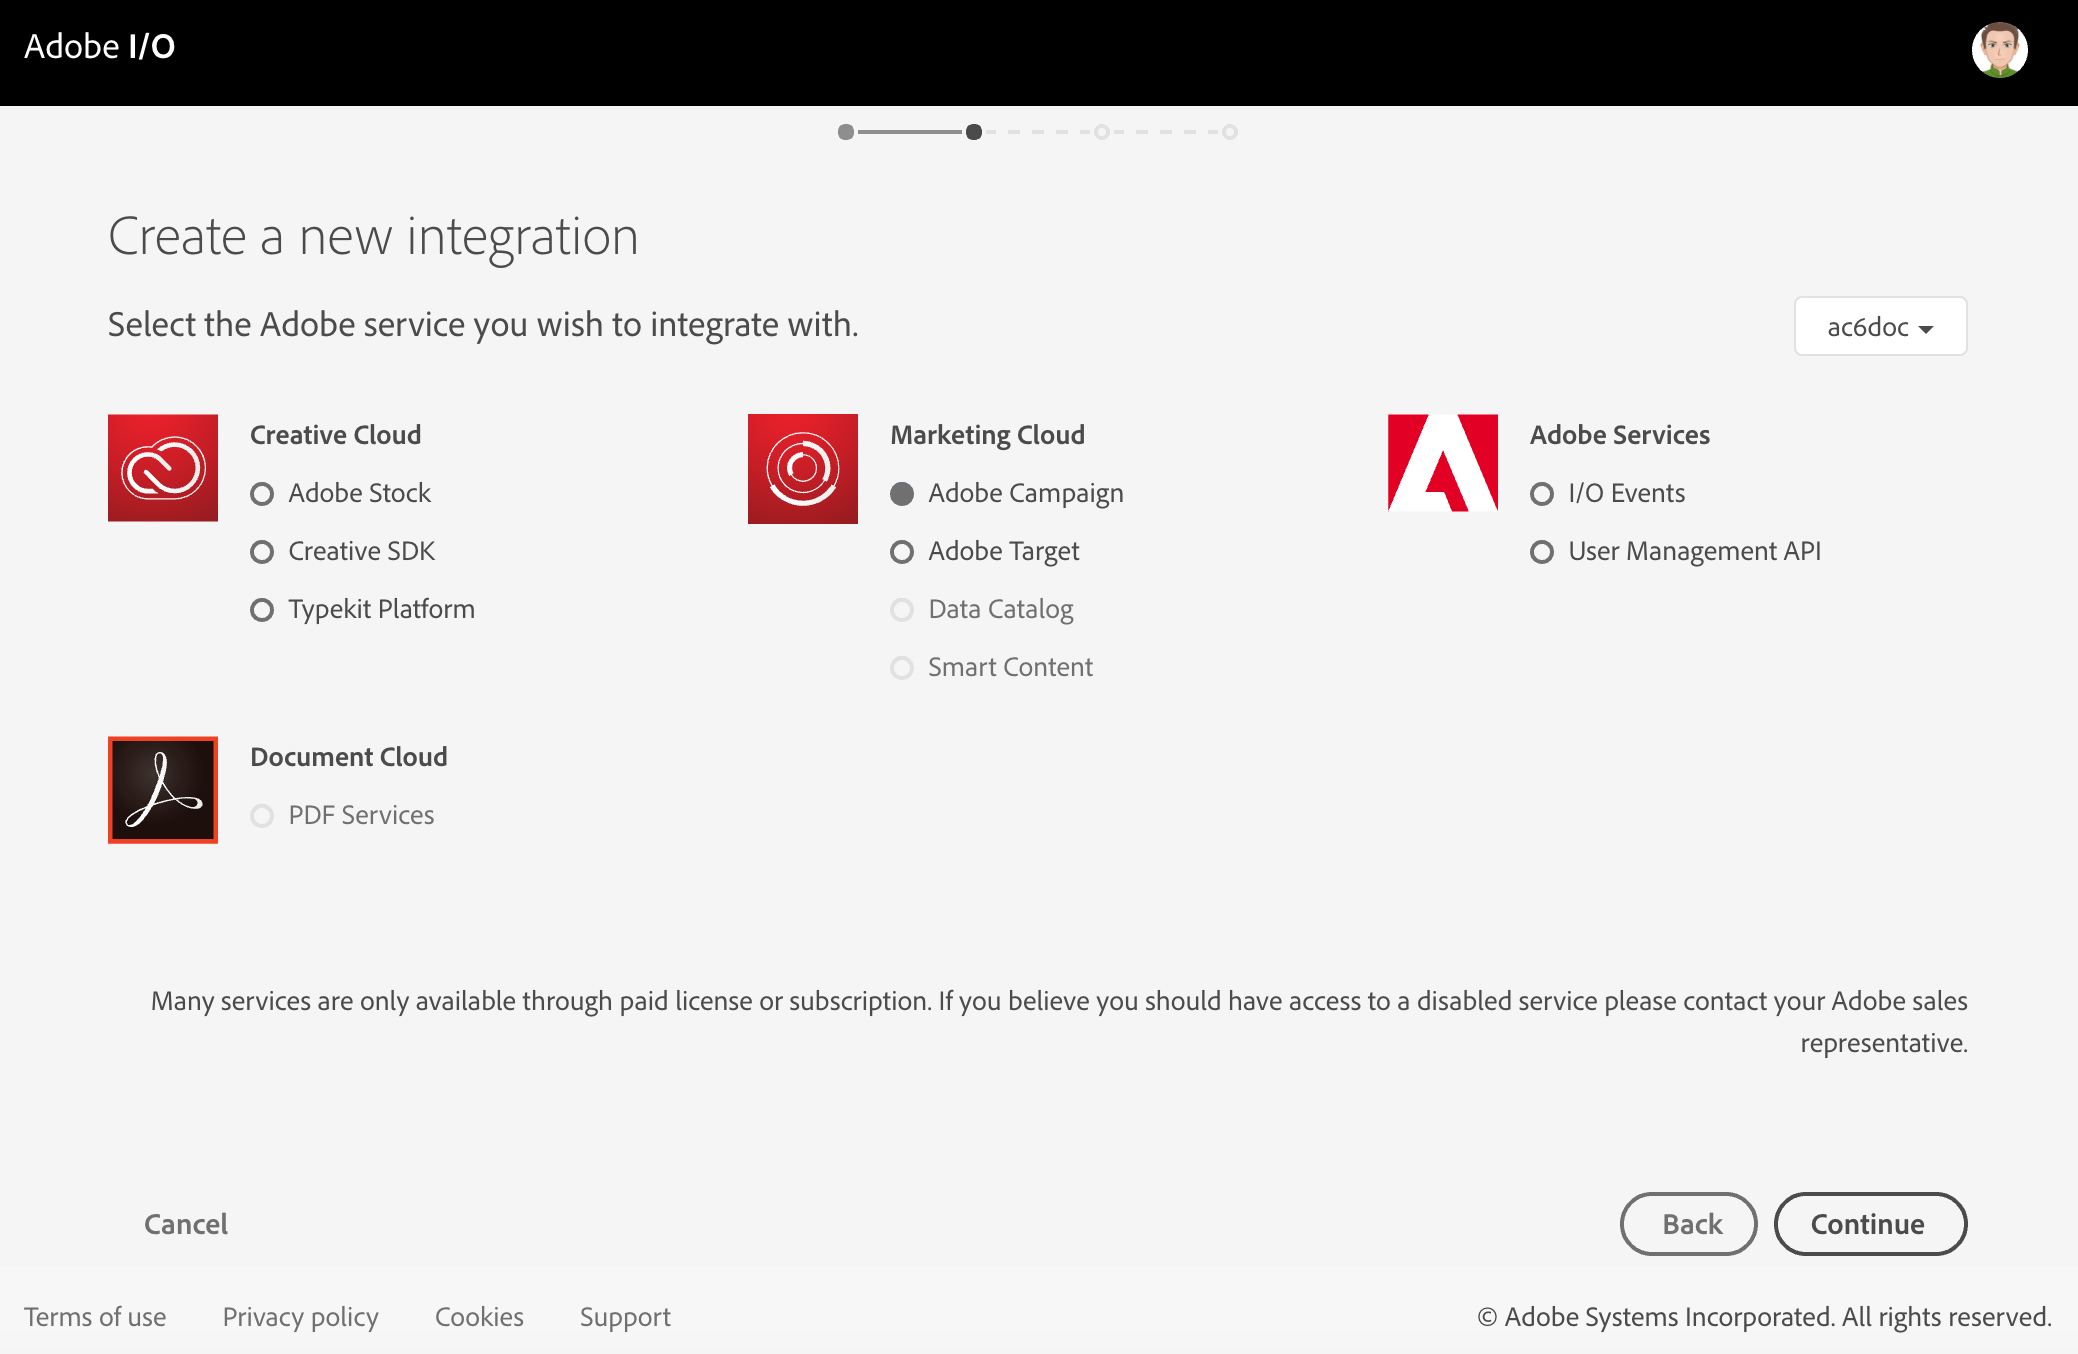
- Choose Adobe Campaign as the source for your bridge
- Choose Magento as the destination
- Click on the Next button
Step 2: Setup your Adobe Campaign source
- Type in the name you'd like to call your integration
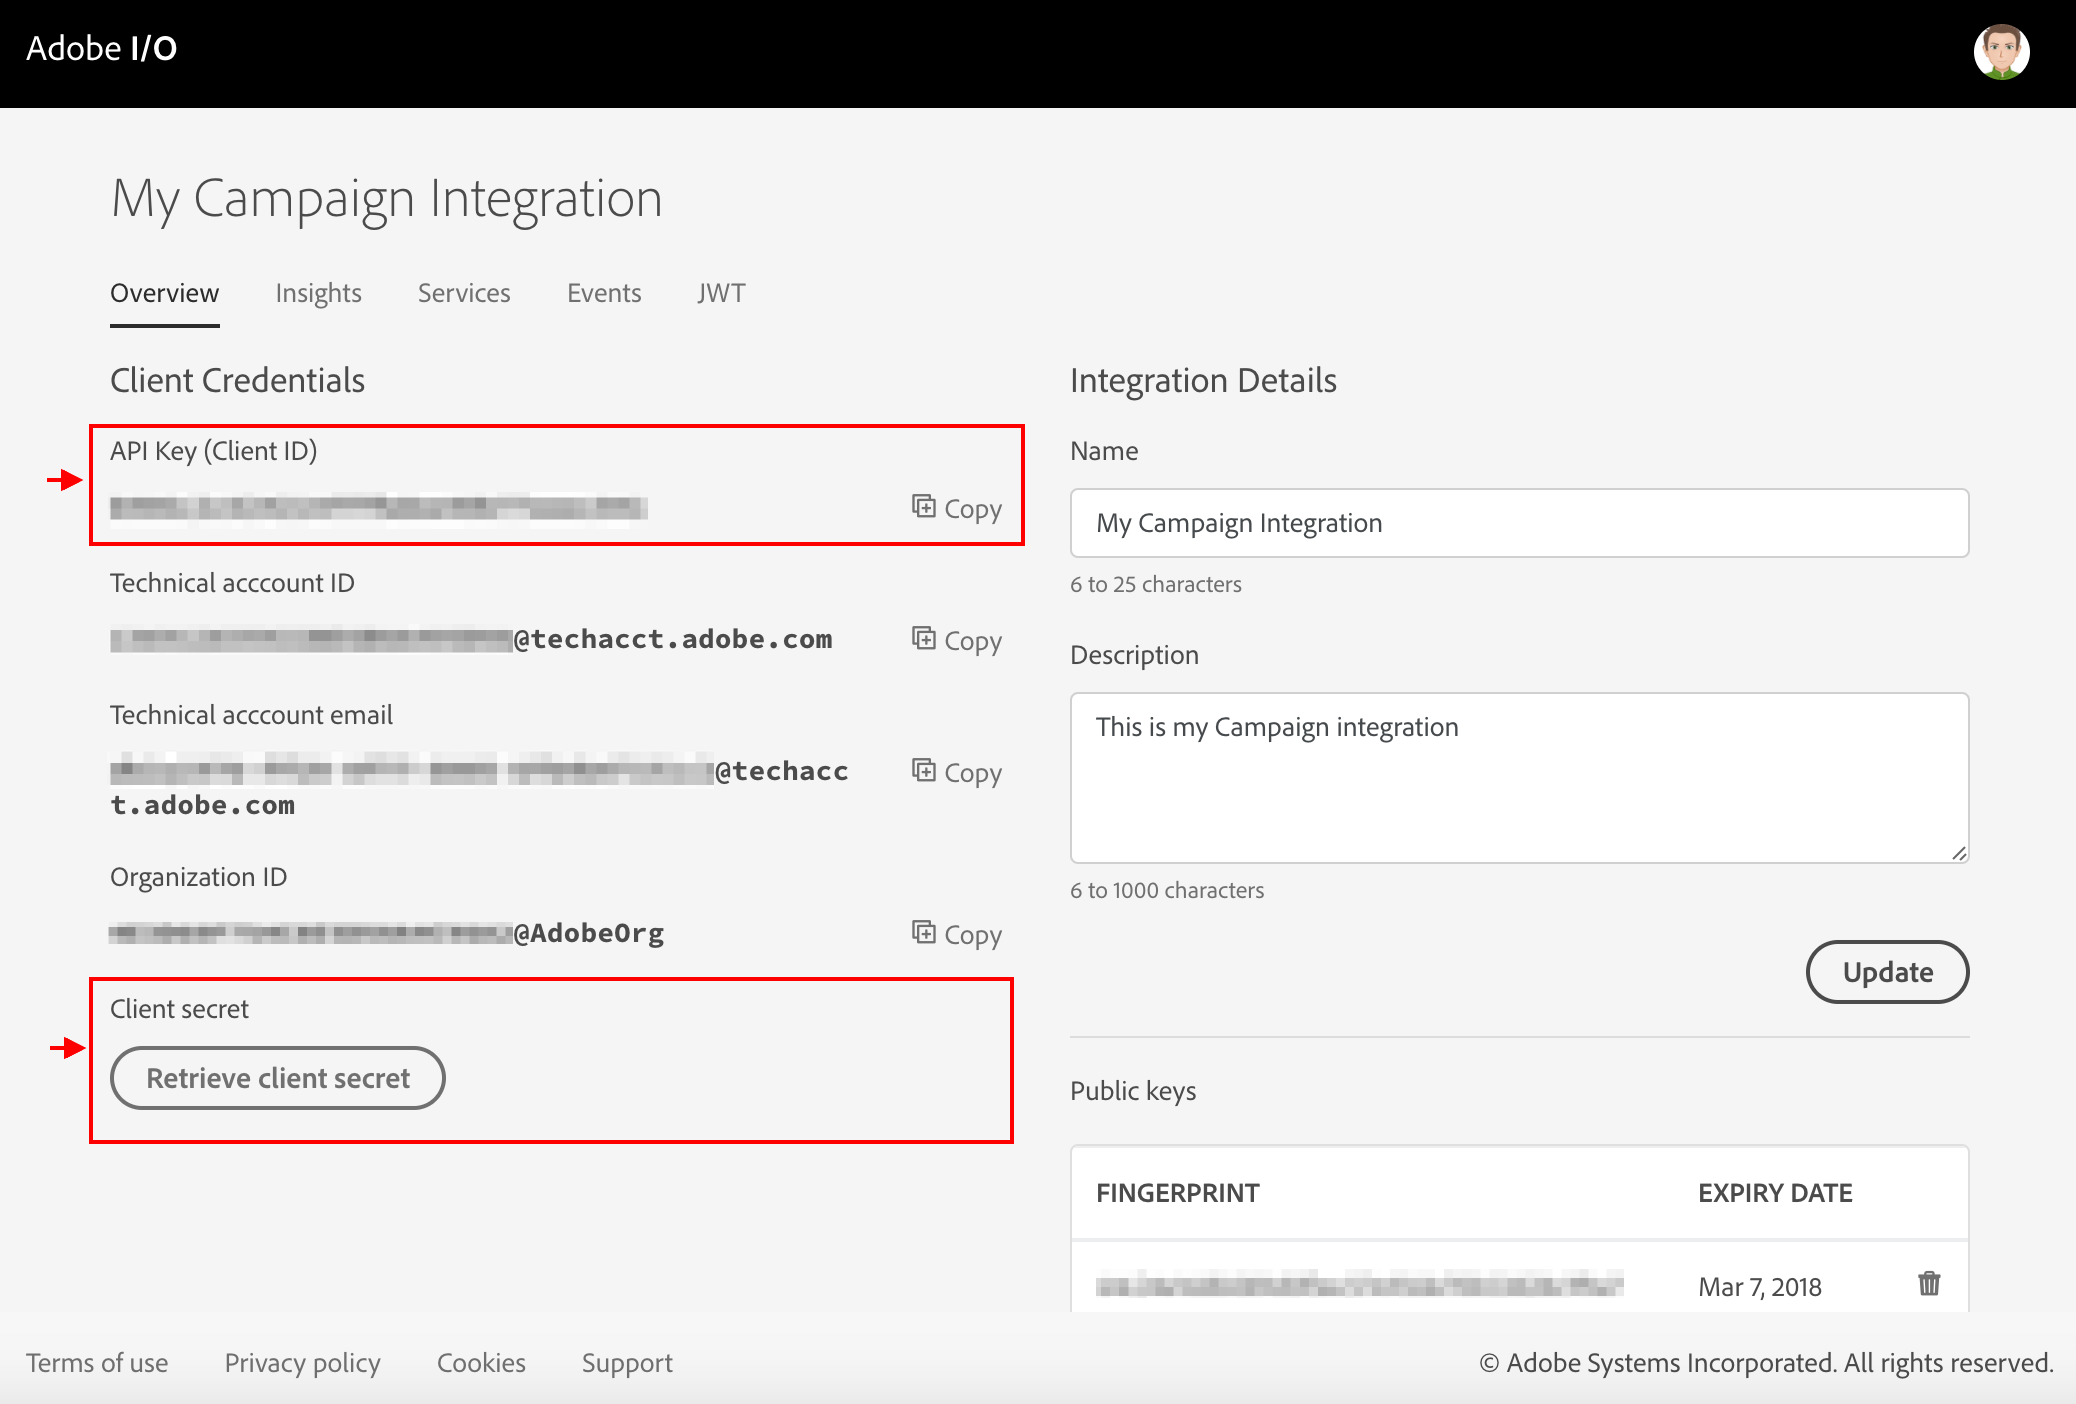
- Enter Client ID, Client Secret, API Key, JWT token and Tenant ID to connect your Adobe Campaign with LeadsBridge
Step 3: Setup your Magento destination
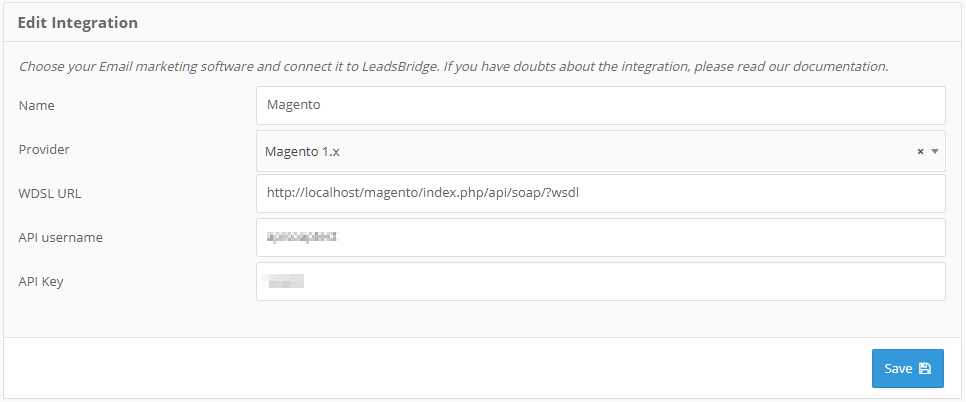
- Type in the integration's name in the dedicated field
- Enter WSDL URL, API Username and API Key to connect Magento with LeadsBridge
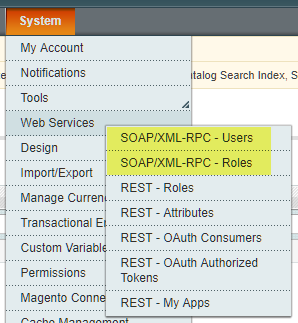
- When creating API roles and users it's important to select the SOAP/XML-RPC - Roles and SOAP/XML-RPC - Users menus, respectively.
- Click on the Next button
- You'll now be able to select the destination segment to send your leads to
- You may choose to receive an email receipt for each incoming lead.
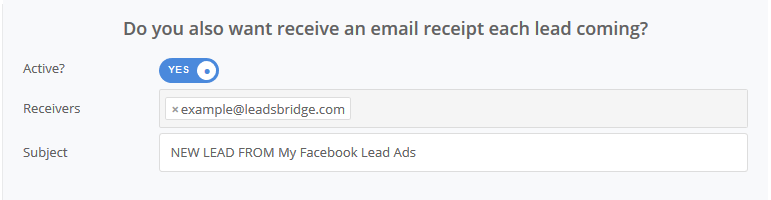
- Type the address(es) where you'd like to receive the receipt
- You may also modify the Subject line of the email
- Click on the Next button
Not using LeadsBridge yet?
Start your free trial today!SIGN UP NOW
Step 4: Fields Mapping
Here you'll be able to map your source information with your destination fields.You'll see a field name with the destination integration's logo at the top, this indicates the name of the field on Magento.Underneath there's a box where you may add the information you'd like to send.
- Check each of the Magento fields available
- Match the information you wish to pass along from Adobe Campaign
- You may type the information manually and pass them as a static value
- Use the functions to customize information like reformatting dates and times or modifying text, phone numbers and so on
- You may also leave blank the box of a field's information you don't want to send through
Custom Fields
- If you'd like to add more fields, just look at the bottom of the page
- Head over the "Don't find a CRM custom field?" box
- Select the field you'd like to add from the dropdown list
- Click the Add Custom Field button

- The field will appear above
- Add the desired information, as you did with the other ones
Once accomplished your desired outcome, just click Next and head to the last step.
Step 5: Test
In this final step, you'll be able to send a lead from LeadsBridge to test if the configuration works properly.
- To create a new test lead, fill in the required information when prompted
- Click Test Now
- To test with a real lead, switch the toogle to "Test with existing lead".
- Click Sync Now along the lead you'd like to send
- If you did everything right the button will turn green, meaning your lead was synced successfully and the integration is ready
- Click Finish to save your settings and turn active your bridge