Solved
Adobe Launch - steps to use AA Product String Builder Search Discovery
Hi Guys,
Can you please provide me steps by steps to use "AA Product String Builder Search Discovery" extension in tags and how to test it with screenshots.
Thank you.
Hi Guys,
Can you please provide me steps by steps to use "AA Product String Builder Search Discovery" extension in tags and how to test it with screenshots.
Thank you.
Here we go.
I want to start with a bit of reorganization of the data layer. I'm addressing three issues :
1) Making the data layer an Array so that we can use the SDI Data Later Manager extension.
2) Making the product node an array consistent with W3C and GTM SOP.
3) Fixing some syntax errors and refactoring for cleanup.
I also changed the data layer name from digitalData to AppEventData. I like to avoid using digitalData unless the structure follows the w3c spec. I also like to avoid using dataLayer unless the structure is in line with GTM standard practice.
Step 1. Install the Data Layer Manager extension in Launch.
a) Note that the `Data Layer Object Name` is set to `AppEventData`. If you use some other name for your data layer, this field should be updated to match.
b) Trigger Node ID is set to triggerNode. You shouldn't need to change this.
c) `Custom Event Prefix` is set to `AppEvent`. This value gives a name-space for your events to prevent collision with any other events that might be fired in the browser. You'll see this again when we set up the Launch Rule in Step 3.

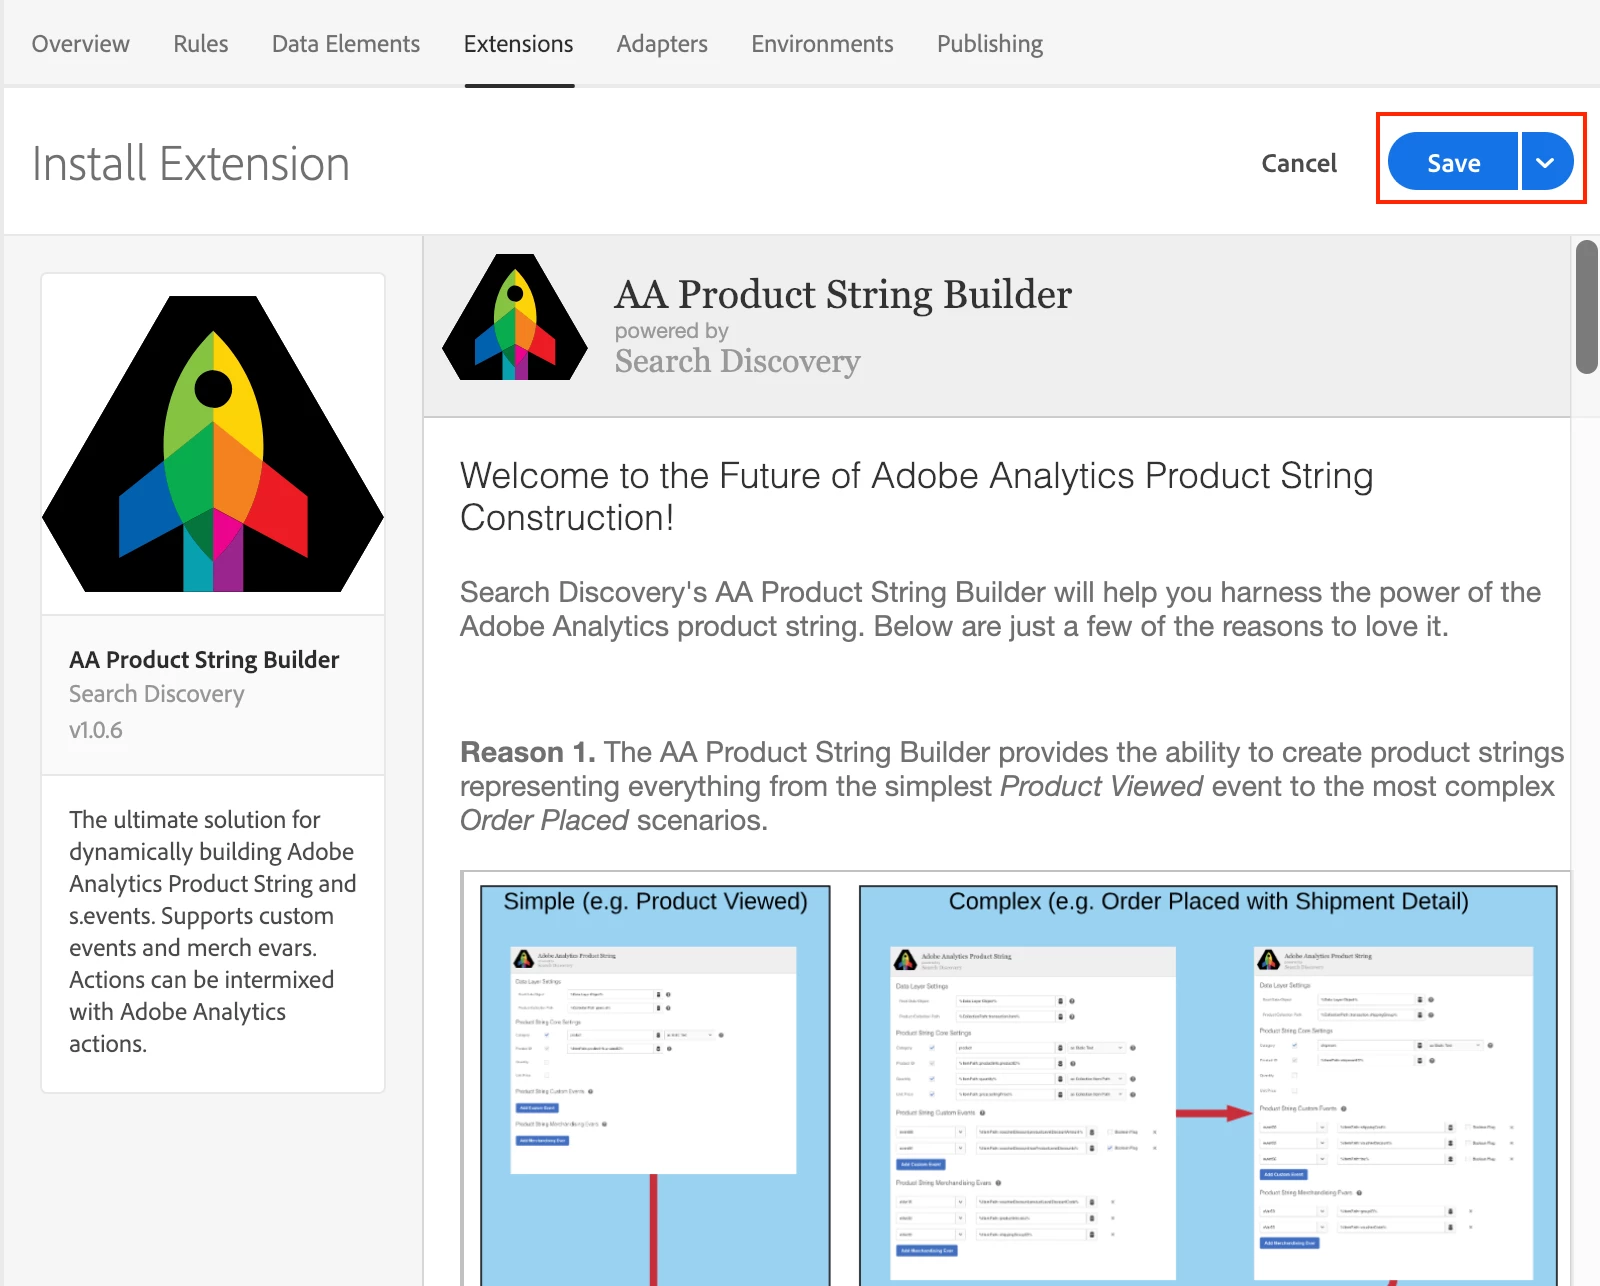
Step 2. Install the AA Product Sting Builder Extension.
This step is super easy. Just go to the Launch Extension Catalog and click "Install" from the extension listing.

From the Install page, just click Save. There are no configuration options to be set on this page.
Step 3. Create a rule for the `addToCart` event.
a) Create a new Rule in Launch by clicking the "Add Rule" button from the Rules Tab.
b) Within this rule, in the Events section, click "Add".
c) Configure the event as shown below:
i. Note that we are using the Core Extension and the Event Type of Custom Event.
ii. Note that the Custom Event Type field is set to AppEvent:addToCart this is the combination of the Custom Event Prefix set in Step 1 and the event value set in the JSON object that will be pushed to the data layer.
iii. Note that we have selected specific element` and set `Elements matching the CSS selector` to `#triggerNode` (matching the value from the Data Layer Manager configuration setting in Step 1.

Step 4. Configure the Action for this rule.
We will be adding three actions to this rule (two from the Adobe Analytics extension, and one from the AA Product String Builder extension). When complete, the rule will look like this:

The Clear Variables and Send Beacon actions are simple (I won't detail them here). Just note the order of actions and make sure that your matches the above.
For the AA Product String Builder - Set Variable action, the configuration should look like this:
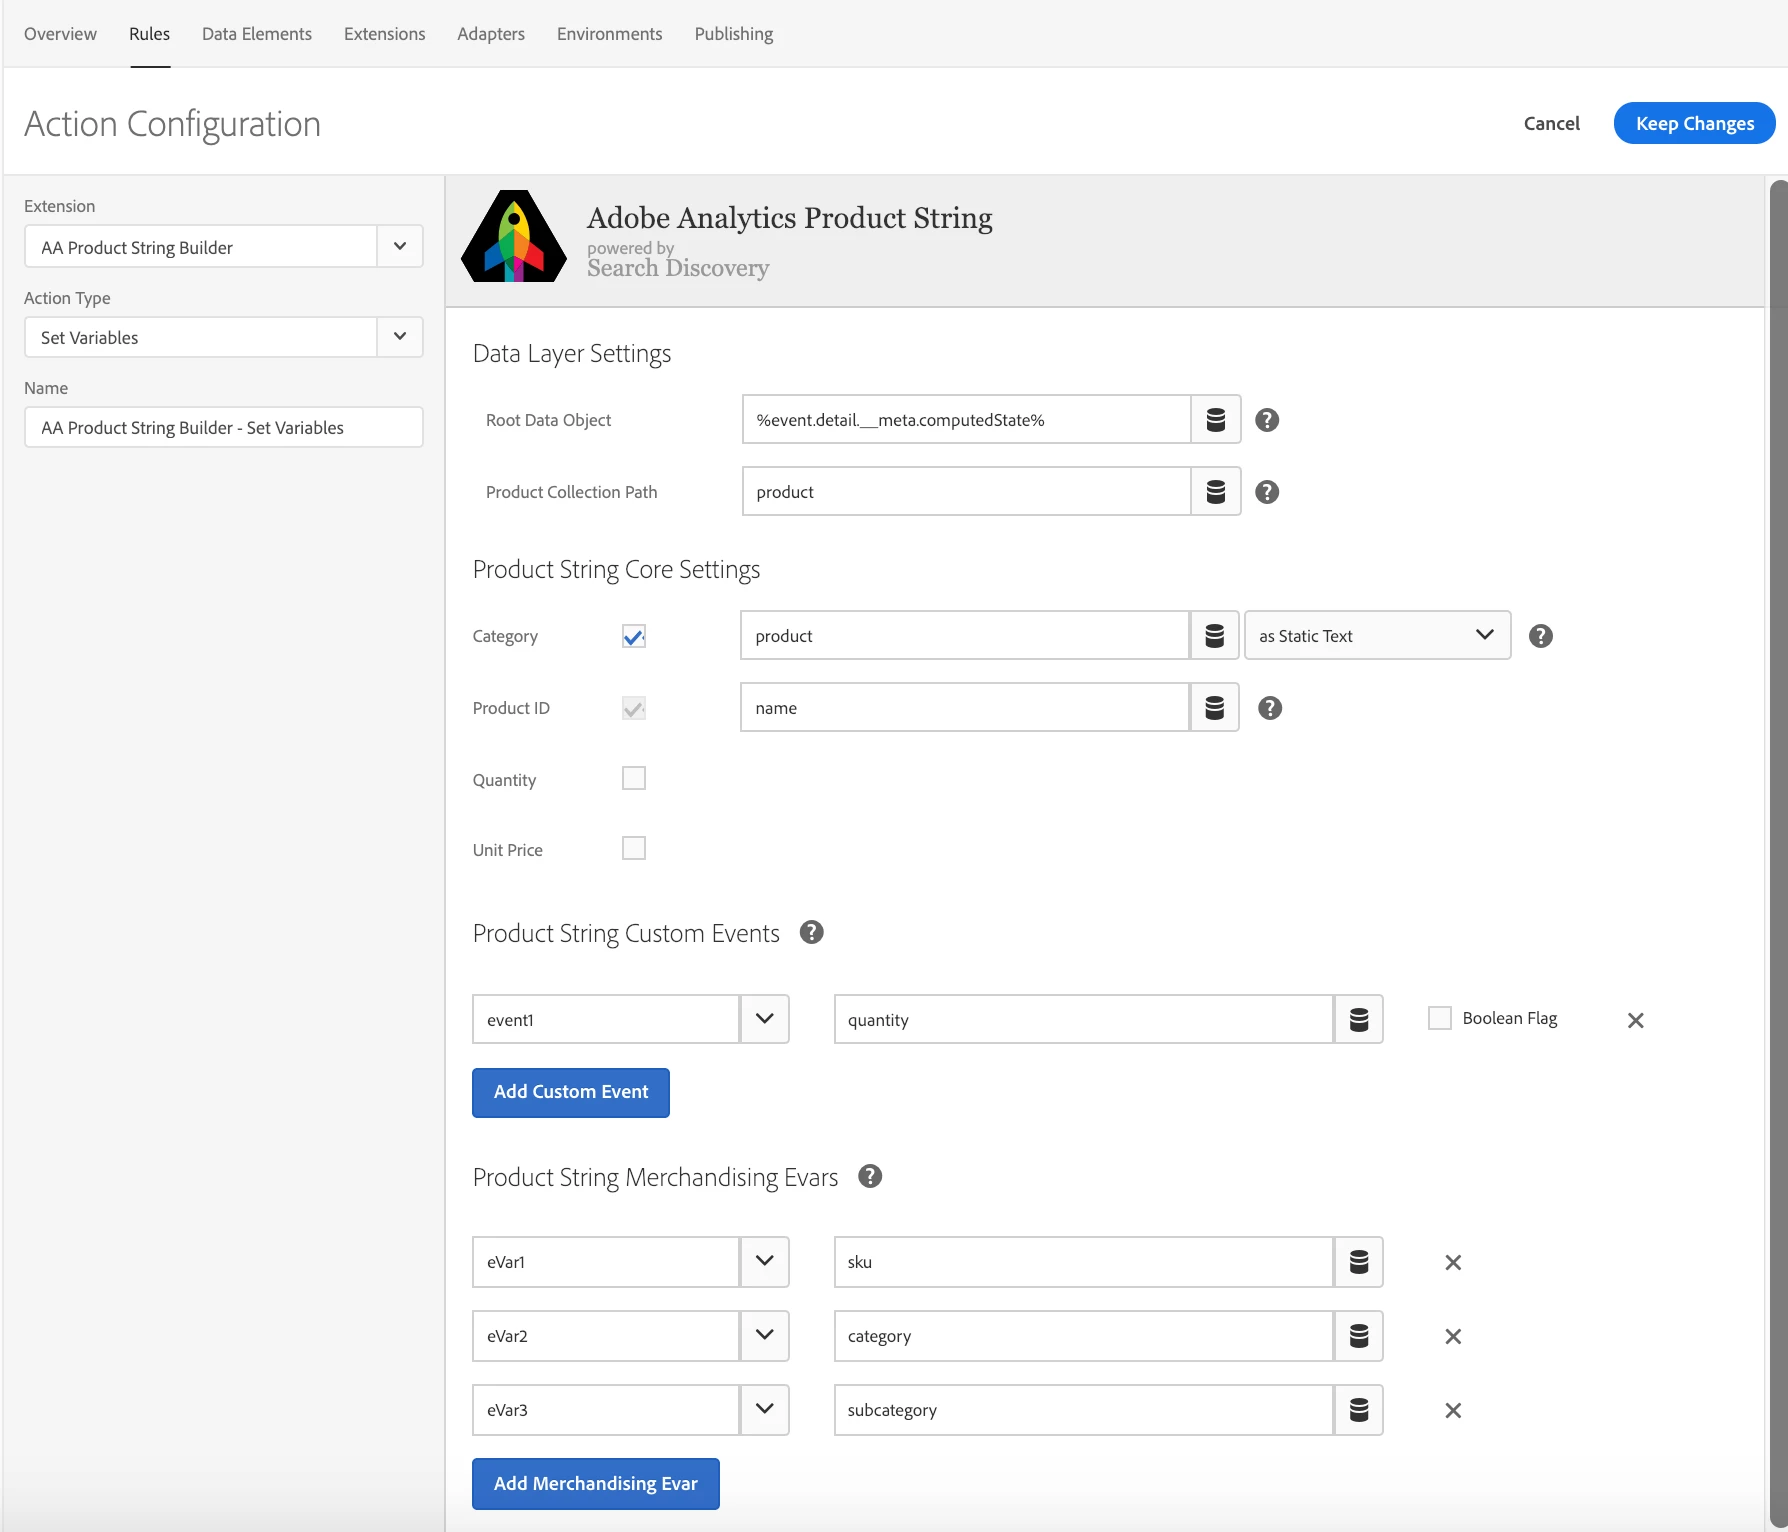
Data Layer Settings
Root Data Object : %event.detail.__meta.computedState%
Product Collection Path : product
Product String Core Settings
Category : product (as Static Text)
Product ID : name
Product String Custom Events
event1 : quantity
Product String Merchandising Evars
eVar1 : sku
eVar2 : category
eVar3 : subcategory
Step 5. Add Changed Resources and Build for Development
Step 6. Test on your website
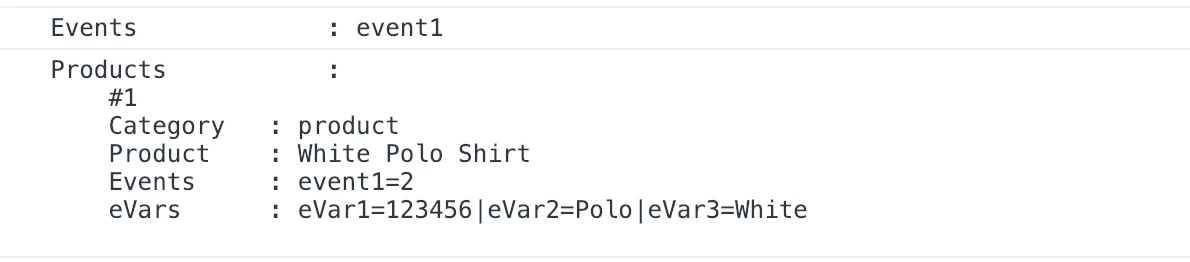
Open your JS console on your website and paste this into the console.
You should see an AA beacon sent with the following s.events and s.products populated.
Enter your E-mail address. We'll send you an e-mail with instructions to reset your password.